- Tips & Tricks
- Mar 16, 2022
How to Make a Background Transparent in Google Slides
Have you ever wanted to make a background transparent in Google Slides so that viewers can concentrate on the image and avoid distractions? If so, you might have encountered issues setting your image the way you want it.
Google Slides is widely regarded as a fantastic tool for creating presentations because it is simple to use, collaborative, and reliable. However, one feature people don’t like about Google Slides is that you cannot make your own presentation slides transparent.
With that said, to help you out, this article will show you how to make a background transparent in Google Slides presentation, so it will appear as though you are presenting on a glass board in front of your audience.
However, before we do so, let’s take a closer look at how Google Slides works.
What is Google Slides?
The Google Slides app is one of the best free tools available for creating presentations. It’s a versatile tool that you can use to create anything – from a simple family tree to a complex business presentation.
It was designed to work on any device, and it gives you the same experience no matter what platform you use. Moreover, one of the most powerful features of Google Slides is its ability to insert images into your slides. Many marketing teams also pair Google Slides with insights gathered from ad intelligence tools to better analyze visual performance trends before finalizing presentation designs. And once your slides (or marketing visuals) start driving interest and inbound meetings, using a lead-routing scheduler like Inleado ensures every prospect can book with the right rep instantly.
This allows you to create presentations with rich visual content to engage your audience. However, if you don’t know how to use these images properly, they can end up looking like a mess of pixels instead of the professional and polished look you’re going for.
If your image contains text, your viewers might not be able to see the content clearly, especially if it is dark. Therefore, you’ll need to make your image clearer and readable by making it transparent so that you can leverage the Google Slides tool.
Backgrounds on Google Slides
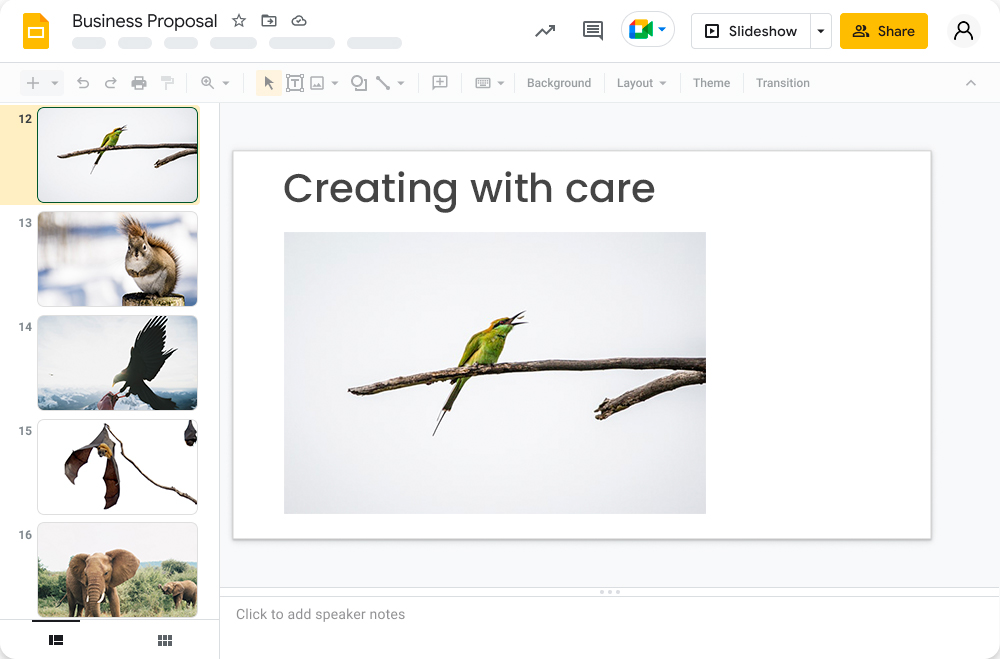
You must have noticed that when you try to insert an image in Google Slides, it always appears with a white background. For example, if you have a picture of a black cat on a white background and want to place the image on a black slide, the cat will still appear on a white background.

Of course, you can use the transparent backgrounds tool to remove the background of your images, but it is much easier if you can use another tool like Slazzer for removing backgrounds. Unfortunately, transparent backgrounds are supported in PowerPoint but not in the current version of Google Slides.

Please note that if you are using a transparent background, when you download your presentation for Keynote, you will need to change the background color to white before uploading to Slides.
Also, you should also note that transparent backgrounds will be retained if you’re downloading or sharing your presentation as a PDF.
Creating Presentations with Google Slides
To create a presentation in Slides, go to slides.google.com, click on the red “+” button, and select the option to create a blank presentation or to “import” an existing PowerPoint file.
If you use Chrome as your web browser, you can also download the Google Slide App from your Apps page to create presentations from any device.
When you open your blank presentation for the first time, you will see that it already has one slide created for you. You may notice that the default slide is similar to PowerPoint’s new slide layouts; two text boxes are formatted as title and subtitle, respectively.
At the top of the screen on the left-hand side is a red button labeled “+,” which allows you to add more slides to your presentation in whatever way you desire, like copying another part of your document or adding an image or video using many different templates and designs.
However, the presentations you’ve just made usually aren’t transparent, and that is where the question of making them transparent comes. Read on to find out how you can do so effortlessly.
Step-by-Step Guide to Making a Background Transparent on Google Slides
So, how to make a background transparent in Google Slides? You can follow these simple and easy steps:
- Open your document on Google Slides.
- Click on the image you want to make a background transparent for. Look for the options bar and click on the insert command if your photo is not yet uploaded to this tool. It will automatically get selected, and its border will turn blue.
- Right-click on the image to see various options. Now, click on the Format options icon (paint roller) from the toolbar that appears above the document when you select an object. Google Slides will generate an options bar on the right side.
- Select the option Transparency from the dropdown menu. You will find it at the bottom of the Format options menu.
- Once you do, a new panel for Transparency settings will open up next to the Format options panel.
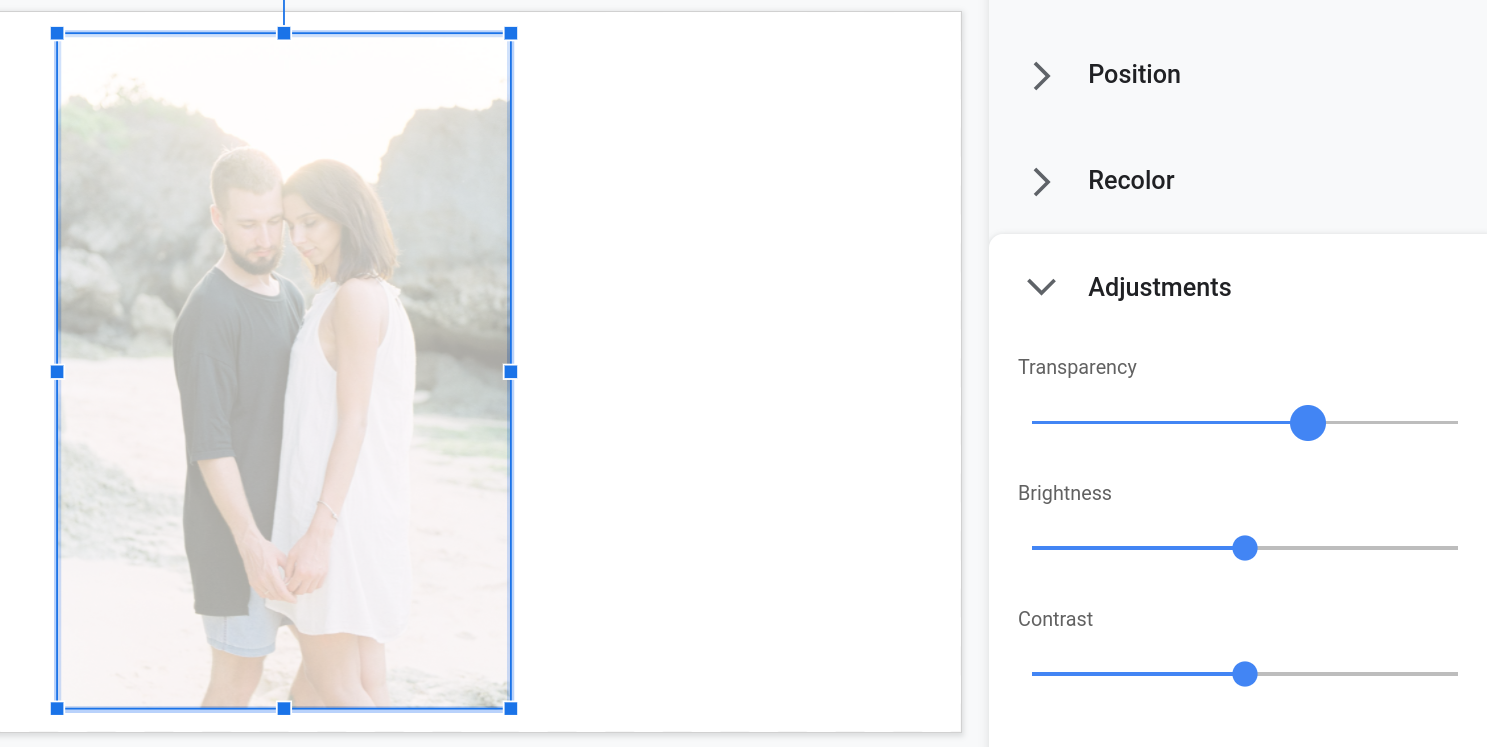
- From here, you can adjust the transparency of your image by sliding the Transparency button either left or right until your desired transparency is achieved.
Changing Multiple Images
The easiest way to change the background of multiple images is by repeating the above steps simultaneously. Therefore, you’ll need to repeat this procedure for each image whose background you want to alter.
However, this process is too tedious and time-consuming, especially if you have several images to change. So, if you have numerous pictures, you will need to group the images on one slide before changing the transparency.
To do this, here are the steps you need to follow:
- Hold down the shift command and then click on the images you desire to group. Group the chosen pictures safely in the Google slides.
- On the toolbar, click on the arrange command.
- In the dropdown menu under arrange, choose the group option. Your selected images will be grouped accordingly.
- Follow the above steps of making the image transparent to change the other images simultaneously.
It’s critical to note that you can only group images that are in the same slide. Therefore, you will repeat the transparency steps if you have several groups of images.
Turning Shapes Transparent in Google Slides
A transparent background usually won’t be the only element you’ll want to be transparent in Google Slides. Sometimes, you might want to add shapes to a flowchart, and the above process might not always apply.
This is usually most challenging for darker shapes that might not be too visible to the viewers. Therefore, making these shapes transparent is essential.
To do this, you can follow these steps:
- Select the shape you want to make transparent in the selected slide.
- Click on the fill color option in the menu bar and select transparency.
- Immediately, the shape will become transparent, and anything invisible will now be clear.
- You now have a readable shape and flow chart.
Resetting Your Background Image
After carrying out the above steps of making a background transparent on Google Slides, you might notice that the result did not match your expectations. Don’t fret.
There are viable options that can still take you to where you started to achieve the desired background or format it to your preferences. However, the easiest way to go back to the start is by clicking the undo button and starting again.
Similarly, you can also reset the image by selecting the background, opening the format option, and clicking on it. The next thing you will do is click the adjustment tab and click on reset.
At this point, you will have the option of starting again because the picture will go back to its original form. Therefore, you can be rest assured that the trial and error option is also available in Google Slides.
The Best Google Slide Alternative to Make Your Image Background Transparent
Google slides does a good job to make the entire image transparent but what if you want to isolate the foreground subject? There is one excellent tool named Slazzer that can do this in just a few seconds.
Basically, if you don’t want to waste a lot of time getting the image to look just right, you can use Slazzer. It’s an online tool that makes it easy for anyone to remove the background from an image automatically and get a transparent version in just a few seconds.
To do this, you simply have to follow these steps:
- Visit https://www.slazzer.com.
- Click on the Upload Image button. Alternatively, you can also drag and drop your image.
- Wait for a few seconds, and the app will make sure to remove the background as cleanly as possible.
- You can then simply click on Download and proceed to insert the image on your Google Slide.
Slazzer is a simple tool that lets you upload your pictures and get transparent backgrounds in seconds. It’s fast, free, and easy to use. You also don’t need to be a trained designer to use it.

All you need is a web browser and an image you’d like to make transparent. The background-removal process is 100% automatic, and Slazzer gives you several options for how you want your finished product to look.
Is It Possible to Design Transparent Images?
Transparent images can be enhanced by further designing them to attract the attention of your viewers. The design allows you to overlap visible pictures with transparent ones and overlap text boxes and shapes.
Through this method, you can also alter the size and placement of the image on the slides’ background. The more transparent an image is, the easier it will be to blend various images in the slide within the chosen background.
If you want to design transparent images, there are a few ways to do this. However, you should note that the method you choose will depend on whether or not you want the background to be visible while drawing your design.
To design a transparent image using web-based software such as Adobe Photoshop or Microsoft Paint, draw your image directly over the white background, then save your file in PNG format to create a transparent image.
If you want to draw your image without the white background showing through, you can open up another blank document with a transparent background, then copy and paste your image over it.
Of course, a more tedious way to create a transparent image is just to delete all the pixels in your image that you don’t want. You can do this by erasing those pixels manually or by clicking select and selecting specific areas of your image.
Final Thoughts
The steps above should help you understand how to make a background transparent in Google Slides. Remember that you can also try replacing the image behind the text with a blended shape using SmartArt graphics or shapes. If you’re already using Photoshop to edit images for Google Slides, you could also use it to create transparent backgrounds for your photos. In one of our previous articles, we explained how to remove background in Photoshop. See it for yourself.
Transparent backgrounds are a crucial part of making great-looking presentations. With the above simple steps, you can ensure your backdrops are always transparent in Google Slides.


Comments (0)