- Tips & Tricks
- Aug 05, 2021
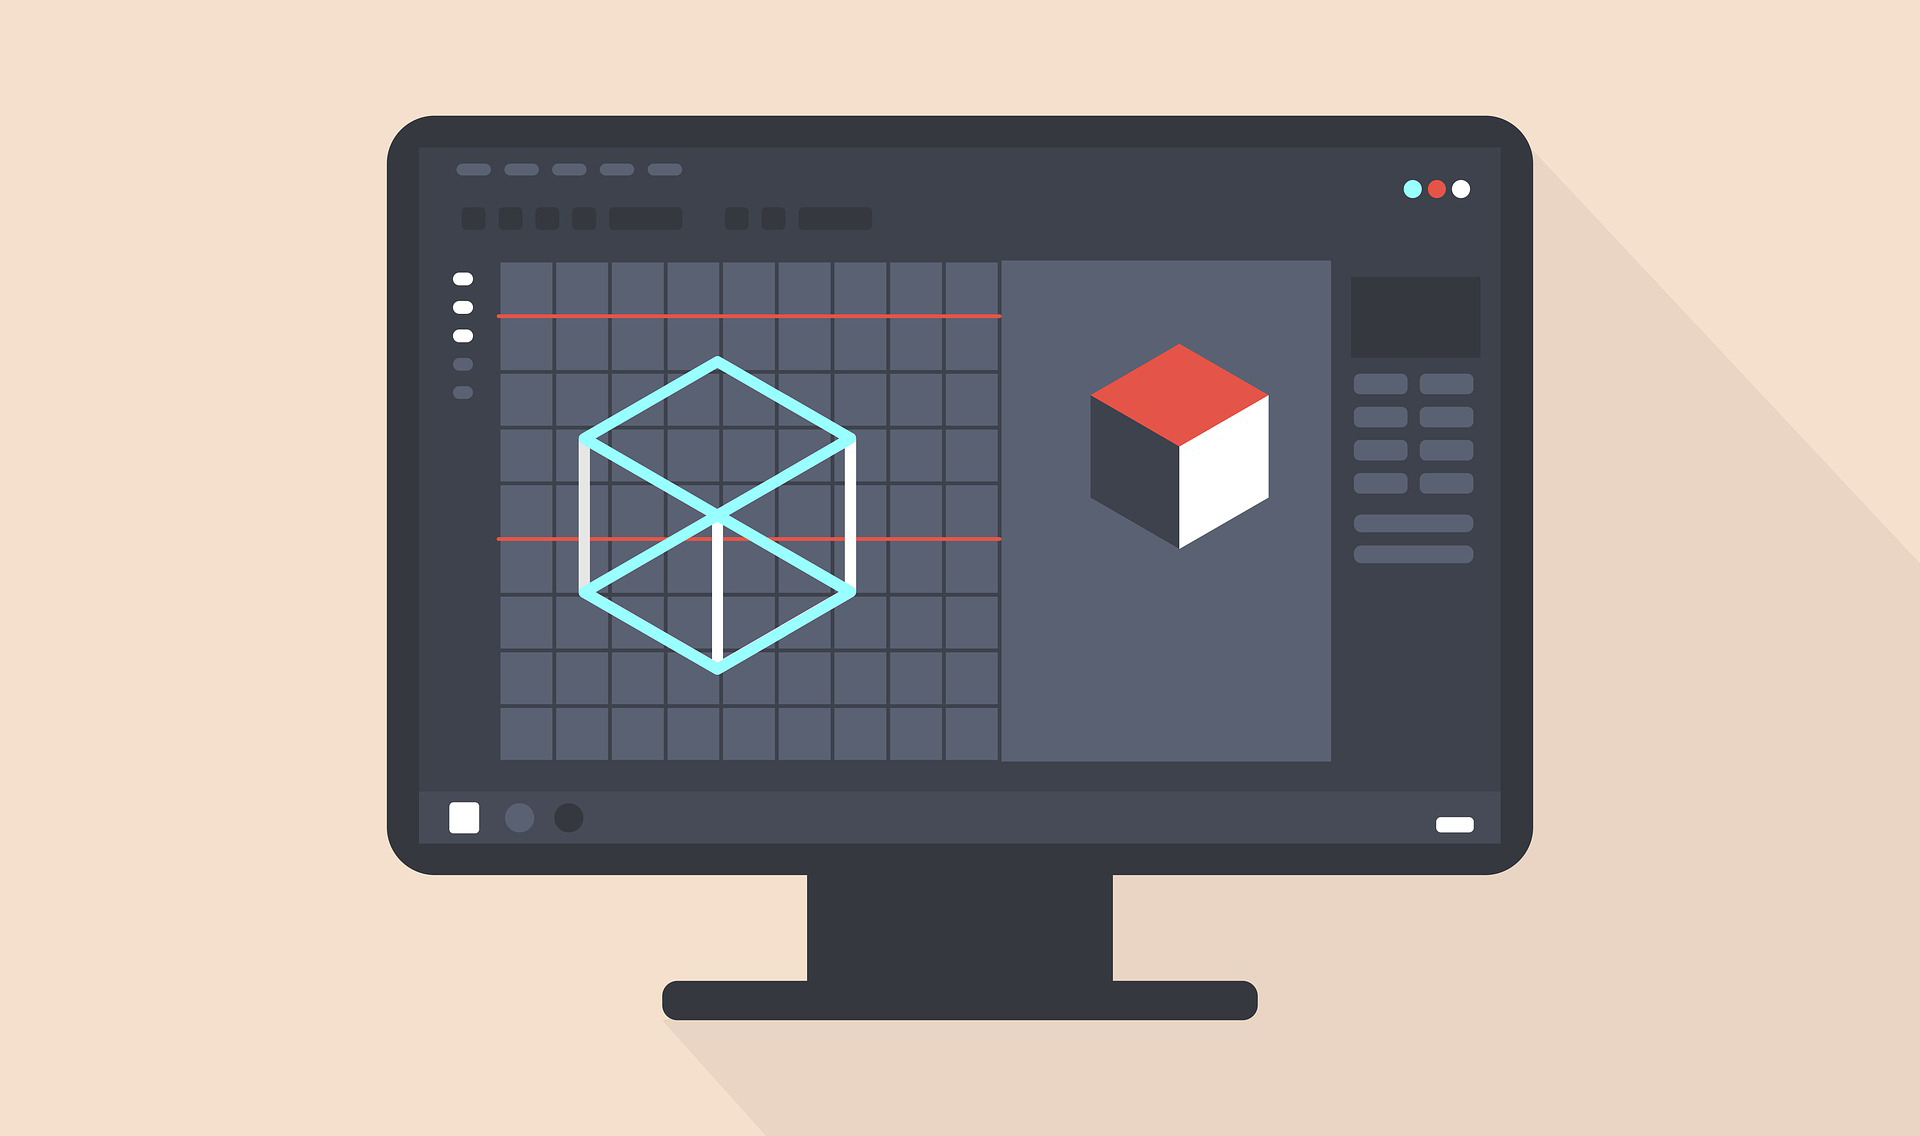
How To Remove Image Background In illustrator?
A vector-based tool, Adobe Illustrator, is one of the preferred drawing applications since its release 35 years ago. It is truly a must-have piece of software for people involved in illustration, typography, or logo design.
While Photoshop is one of the most popular software that allows the removal of the image background, does Illustrator also allow you to do the same?
Well, yes! Adobe Illustrator has various features; you can import anything you like, remove the image background and place it in your creation.
Our guide will talk about the different ways to remove an image background in Illustrator. So without any further ado, let’s learn some new skills.
Use Magic Wand or Pen Tool To Remove Background With a Clipping Mask
This is one of the quickest and easiest methods to remove background in Illustrator. But how do I work with it?
Clipping mask hides or masks other pictures so that only what lies in the range is visible. It’s basically like a template that you can clip around and inside.
First things first, a clipping set is defined as the mask and the hidden objects. It can contain all objects in a group or layer, or you can make selections on your own.
The clipping mask will be a vector. However, you can also mask old JPEGs and other types of files.
Let’s see how it works!
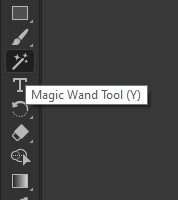
Primarily, select the image you wish to leave behind when removing the image background. You can either use the Magic Wand or Pen Tool to make the initial selection.
Follow the instructions given below for the Magic Wand tool:
Magic Wand tool is an excellent option when you need to select objects, sections, or parts of the project with similar characteristics. The tool simply guesses what you want to select and allows you to add or eliminate areas by clicking on them.
- With the object open, zoom it. It’s important to get a precise mask around the object to get a high-quality mask. You can either press Z or select the zoom tool from the toolbar
- Now click on the most representative parts of the picture (with the attributes you wish to select). The Magic Wand tool will select all matching elements
- You can add to the selection by holding down the shift key and clicking another part of the image with elements you wish to select
- In case you’ve selected too many elements, press Alt (Windows) or Option (macOS) and click to remove items
- This tool is somewhat quirky. If you want to make it more accurate, customize the settings in the toolbar. You can focus on selections with the same or nearly the same color, stroke weight, or opacity. Moreover, you can also modify the likelihood the algorithm will select in every area
You can also use Adobe’s Standard Pen Tool to remove image background in Illustrator. It offers extremely precise control while drawing straight segments and curves.
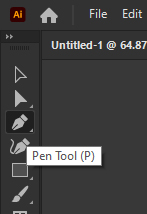
Here’s how to use it:
- Zoom the object right in after opening. The mask’s quality depends on getting a precise mask around the object. You can either press Z or select the zoom tool from the toolbar
- Now open the Pen Tool. Choose the color of stroke and then select the No Fill option. You can produce the outline by clicking around the picture and creating anchor points. Then, you can manipulate the lines that join it up by creating new straight lines by using the dots to shape curves or subdividing
- Once you have created the best outline, click on the primary anchor point to close up the shape. Remember that it doesn’t need to be perfect, and you can alter it in the next step
When you are done creating your selection with either Pen Tool or Magic Wand, it’s time to create a clipping mask.
- Select both the images, the whole, and your outline, by pressing shift and clicking
- Now right-click the mask on PC or Ctrl click on Mac and select Make Clipping Mask. You will be left with the subject standing alone
- You can add or eliminate both the selected object and the mask by alternating between them and using the Direct Select Tool
- Lastly, export the file as .PNG or EPS file, ensuring you have checked the Background Transparent Box
Use Image Trace To Remove the Background
Image tracing helps to convert a pixel-based image into a vector-based object with several colors/black and white/greyscale parts. Vectorized images are usually sharper when compared to regular images such as JPEGs and do not get pixelated even when zoomed.
illustrator can easily remove the image background. Let’s take a look at how to do the same with Image Trace.
- Open a file from your system and place an image in the workspace
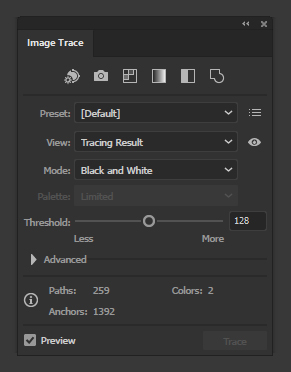
- Use Window>Image Trace to convert the image into a vector. It’s best to choose high fidelity photos for best results or select one among the two presets that best matches the image
- Next, go to View>Show Transparency Grid (or Shift+CTRL+D, Shift+Command+D in Windows and Mac, respectively). This will help reveal the checkerboard background indicating transparency
- Click on the Direct Selection tool or Object, followed by clicking Expand in the dropdown menu. It will bring up the anchor points into a vector and convert them into a shape
- Click and select the background parts you wish to remove. Now press Delete. You may have to do the same for each area
- You can export the file as a .PNG or EPS file, ensuring that you’ve checked the Background Transparent Box.
Bottom Line
These were some of the easiest ways to remove the image background in Illustrator. You can try out these methods to remove background for –
- Focusing on the primary object
- Enhancing image quality
- Making the images look clean
- Avoiding distractions
It might take you some time to become a pro at using these methods. We hope this helped!


Comments (0)