- Tips & Tricks
- Sep 24, 2021
Understanding color temperature: A short guide to manage the lighting in your image
Want to build a tone in an overall dull photo to make it warm and glowing or cool and muted, all you have to do is adjust the color temperature. Adjusting color temperature will make every image as captivating as imagined. But what is color temperature, and how important is it for the look of the photo? This article covers everything you need to know about color temperature so that your pictures turn out amazing.

What is color temperature?
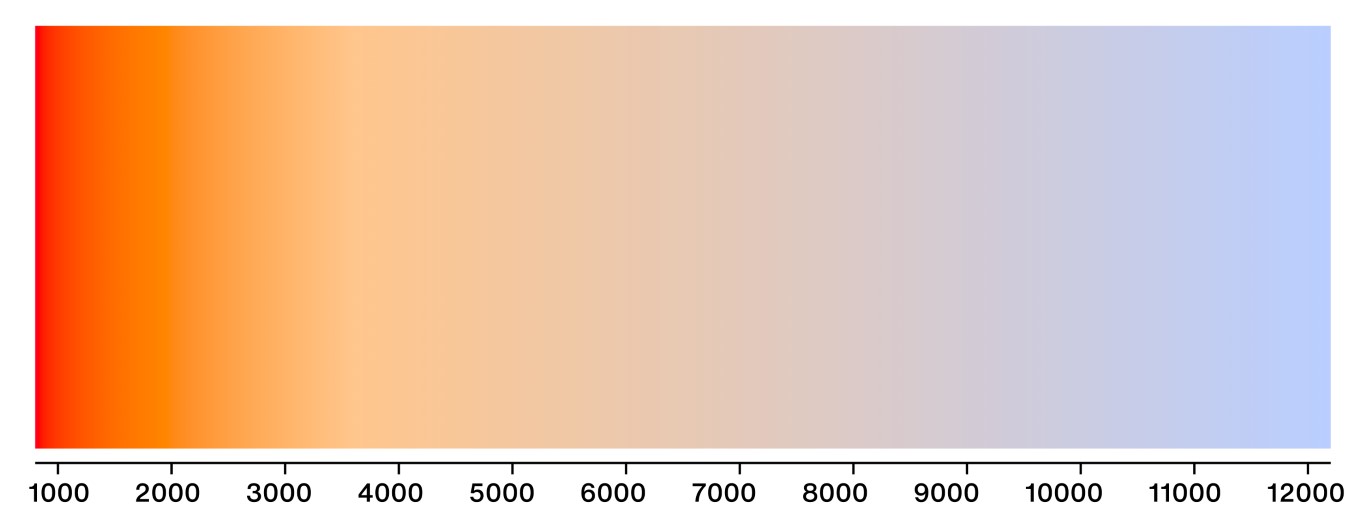
Color Temperature or Light Temperature is the color of light that adds “coolness” or “warmth” to a photo. It is a measurement of the hue of a particular light source in degree Kelvin. The light color temperature scale ranges from red — orange-red — yellow — yellow to white — white — blue and white.
The image will turn out yellow or orange if the Kelvin number is high and blue if the Kelvin number is low. Since cameras are not as trained as our eyes, they cannot adapt to changing light sources as our eyes do. To ensure that the object that appears white to the human eye appears the same in the photos, we use the Temperature tool.
Adjusting the scale of the Temperature tool transforms the image from dull to buttery and warm or cool and unmuted, you can also use different image color correction tools for better results.
Managing white balance in the image
When it comes to photography, lighting is the most crucial element, and it can have a lot of impact on the final result. The sunlight, the time of the day, and artificial incandescent indoor lights make it hard for electronic sensors in the camera to perceive the correct color temperature. Hence, the image captured turns out to look distorted.
To compensate for different types of lighting, so that an image of a white object turns out white, we need to adjust the white balance setting. White Balance also helps in image color correction and getting rid of color casts so that the colors in the image look natural and accurate.
Importance of color temperature in photography
One of the significant aspects of color temperature is light. A photo might turn out flat even if the lighting, both natural and artificial were good. In such cases, the color temperature comes to the rescue and restores the overall atmosphere of the image. The temperature tool in an image can alter the mood of an image and the person who will see the image. Color Temperature can make a dull picture cheerful or melancholy and affect the overall atmosphere of the image.
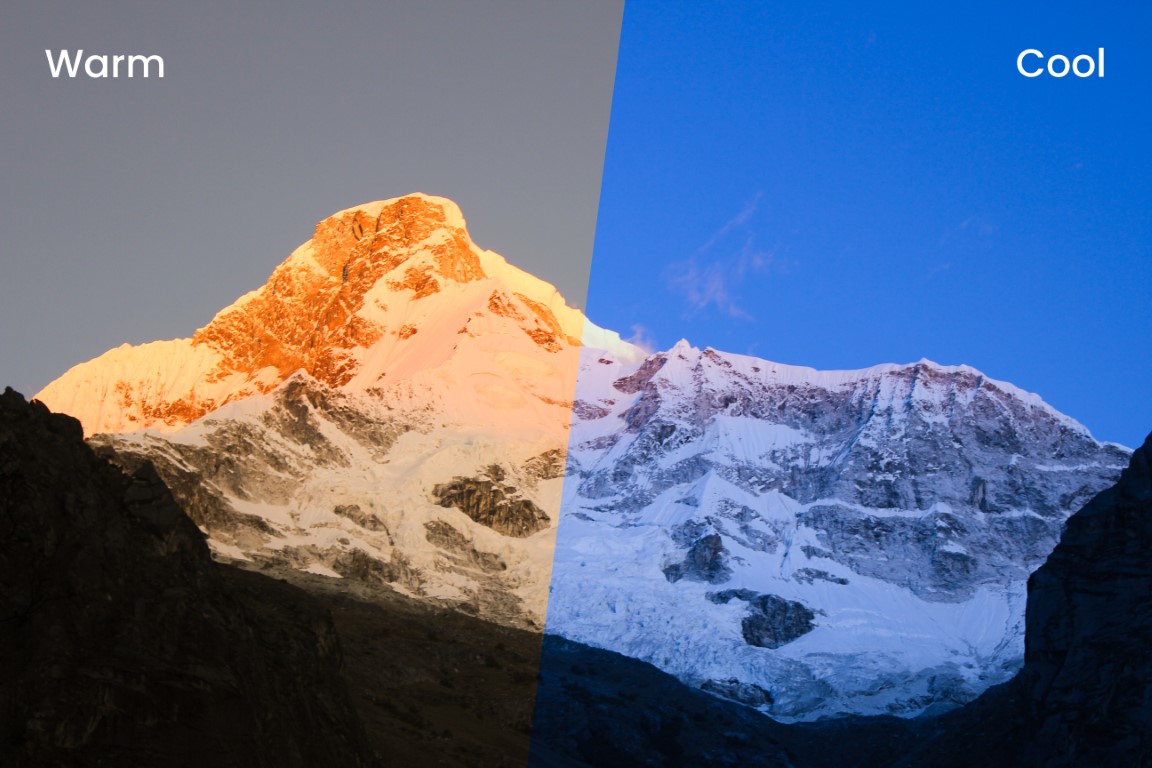
Let us take an image of the sun rising behind a snow-capped mountain, applying a colder temperature, and using warmth – you’ll find two completely different pictures though the scene is the same in both of them. When the color temperature is high, the picture looks more pleasant and warmer, whereas when the color temperature is low, it becomes bluer and looks harsh and fierce.
You can choose from different white balance settings while taking a picture. Incandescent, Cloudy, Fluorescent, Open Shade, Flash, and sunny are all the White Balance options available to the photographers.
Step-by-step guide: color temperature adjustment
If you are a photographer, you must have come across Lightroom Software. Adobe Lightroom is an easy-to-use photo-editing color correction software, which provides tons of features to its users. With just some minor adjustments, one can effortlessly balance the tone and alter the mood of an image.
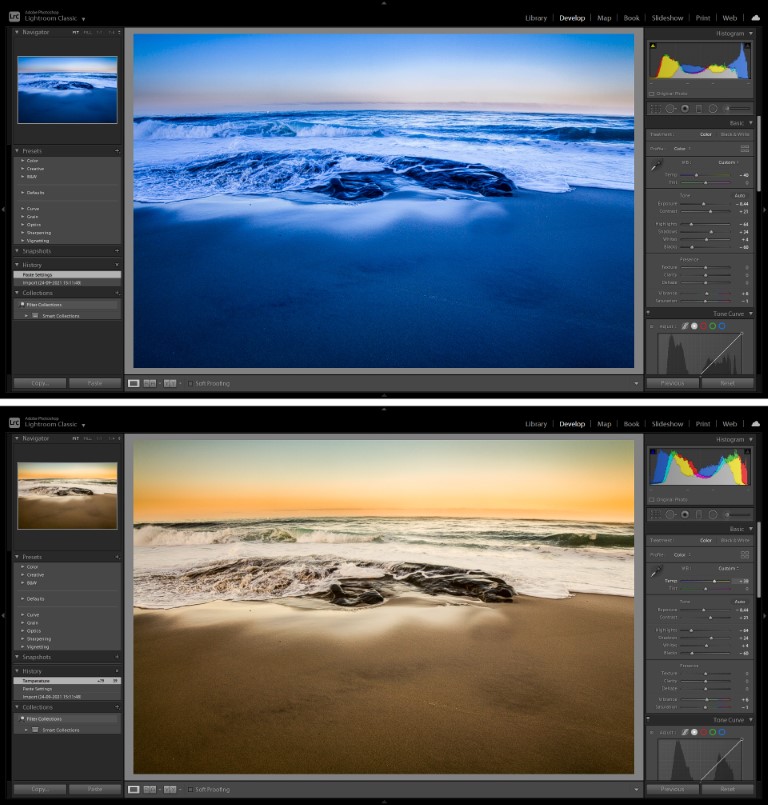
- Open Lightroom > Open Library > Import the image that needs editing. Once it gets imported to the Library, select the image > Develop. It is now ready for editing, and head over to the Basic Panel toolbar on the right side and select the Temperature option.
- You will find Temperature, listed as ‘Temp’, under the Custom section, set by default at 0. If you want a cold blue tone, slide the bar towards -100, and for a yellow and warm tone, slide it to +100.
- Once done, save your image, click File > Export > save to your desired settings > Export.
Both Lightroom and Photoshop come in handy when one wants to perform minor adjustments to the image. The color temperature tool in such software allows even those
who have no experience with this type of software to adjust the tone and mood of an image.
Step-by-step guide: Photoshop color temperature adjustment
Photoshop is one of the oldest image editing and manipulating software. It has doctoring functions that can add or remove background and other items from the image, render text or 3D objects and manipulate the picture. Since we are working on a color correction tool – temperature, it’s best not to focus on other functions of Photoshop right now.
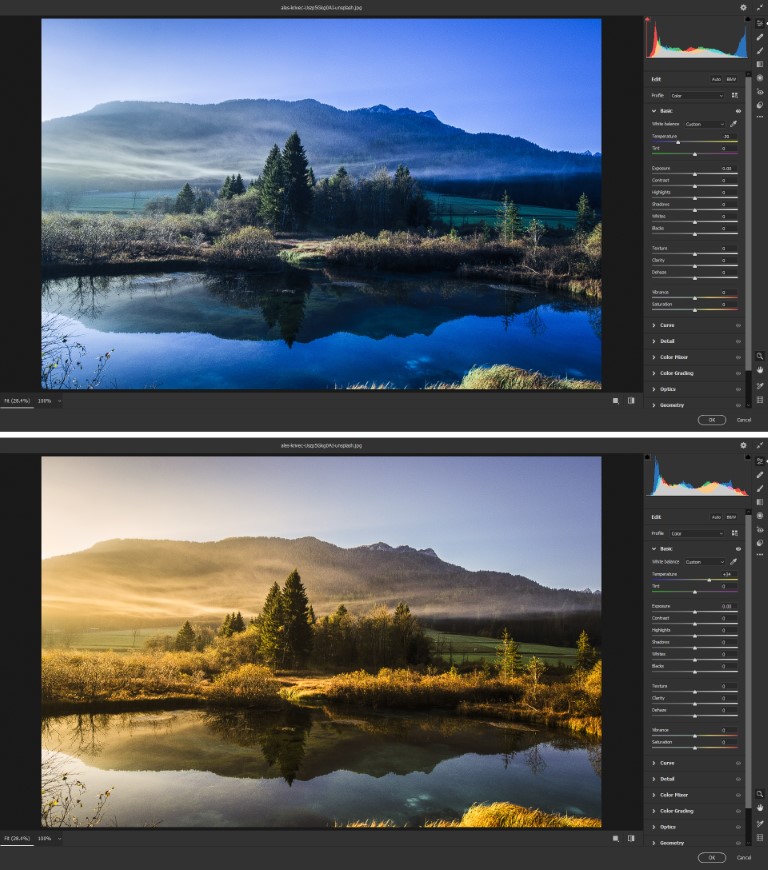
- Open Photoshop > Filter > Camera-Raw Filter and choose the image you want to edit.
- On the right side, you will find a sliding temperature bar on the toolbar. You can use it to alter your image on a scale from cool blues to warm yellows.
- To save the image within Photoshop to edit again later, select File > Save and if you want to save the image into a file on your device, click File > Export, save as desired file type like a JPEG > Export.
Color Temperature editing feature is just one part of Color Grading, and it can be used along with other tools like highlights, shadows, and clarity to alter the mood of any image and give it a cinematic look while color enhancing tools like hue, saturation, and luminance will change along with the light temperature.
So you can try out each of these tools on your images and give them a dramatic effect meanwhile enhancing your editing skills in the process.
Once you know how to use the color temperature tool and how simple adjustments can make such a vast difference to an image and add so many characteristics, you can remove the background and replace it with a different backdrop to make things interesting.
Our background remover app– Slazzer, will easily take care of it, and you will have a transparent image in just a few seconds, to which you can add a new background and practice again.
Make any background transparent for Free


Comments (0)