- Tips & Tricks
- Jul 20, 2021
What is Automotive Photography and how to get started?
To an automotive photographer, every image is unique in terms of the format. Each click offers a chance to capture the purpose and personality of a vehicle. That’s how automotive photography should be!
Suppose you own a trading vehicle business or planning to sell a family car. In that case, it’s important to understand how automotive photography can make all the difference between a deal or no deal.
Or you might just have a thing for cars and love to click them. Whatever the case, having a basic understanding of automotive photography is vital.
Be it any type of photography; it is never limited to just taking a shot and hoping for the best. But whatever your reason is to pursue automotive photography, our guide will cover everything from preparation to editing and printing.
What are you waiting for? Switch on the engine and get started!
What is automotive photography ? How to prepare your subject for automotive photography retouching
Have you ever noticed models getting all dolled up before shoots? That’s exactly what we mean by preparing your subject. You need to make sure that the car looks as clean and attractive as possible.
If you are selling a second-hand vehicle, you may need to make certain improvements, such as blemishes on the paint, missing windshield wipers, or dents on the fender. Of course, don’t spend more than the car’s worth on the improvements.
Besides, make sure that the car is as clean as possible, both from inside and outside. Remove any stuff lying in it and get rid of stickers.
Focus on the Camera
No doubt, phone cameras are getting better with time. However, you may need a professional lens for getting high-quality images. You can ask one of your photographer friends to lend you a camera.
In case you have a budget, consider buying an inexpensive point-and-shoot camera to get quality images with a decent background.
Light it Right
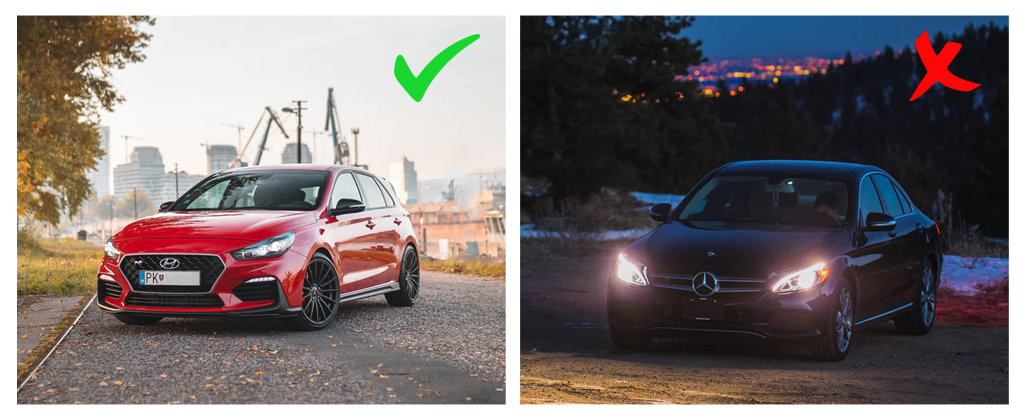
Lighting is one of the major factors to enhance automotive photography. A car has a shiny surface, and glare looks bad in photography. What does this imply? You must avoid the overhead sun.
The ideal time to take photos is when the sun has risen up, which can significantly impact the quality of the image. Avoid taking images after it gets dark if you don’t have enough artificial light.
Location is Paramount
Besides lighting, location is also an important aspect to focus on. But whatever you do, don’t choose a crowded street for automotive photography.
Think of a beautiful backdrop such as a skyscraper, a park, or a golf course. You may also want to choose an urban spot like a parking spot. Most importantly, make sure that the car is the main object of the picture and doesn’t lose attention because of unnecessary details.
Even if you don’t have a good image background, you can always remove it in seconds and replace it with a picture of your choice. Slazzer can help you remove the image background in a flash and even edit pictures in easy steps.
Click On The Go
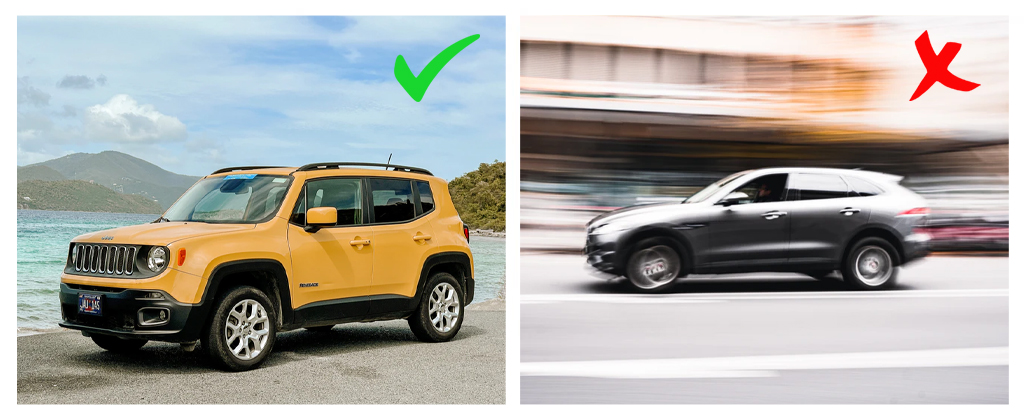
An amazing trick to get natural and splendid-looking shots of a car is to shoot it out of another moving vehicle. By doing this, you will get more natural shots.
Make sure not to go too fast while driving; otherwise, the images may end up blurry.
Edit Creatively
No matter how good the images turn out, you will need to edit them creatively. The best tool to edit pictures is Photoshop. Now, if you are indulging in automotive photography to sell a car, it is ethically wrong to edit the images.
However, if your aim is to make the car stand out from the rest of the image, follow the steps given below (steps 1-4).
Step 1
Upload the image.
Step 2
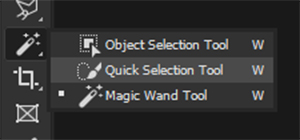
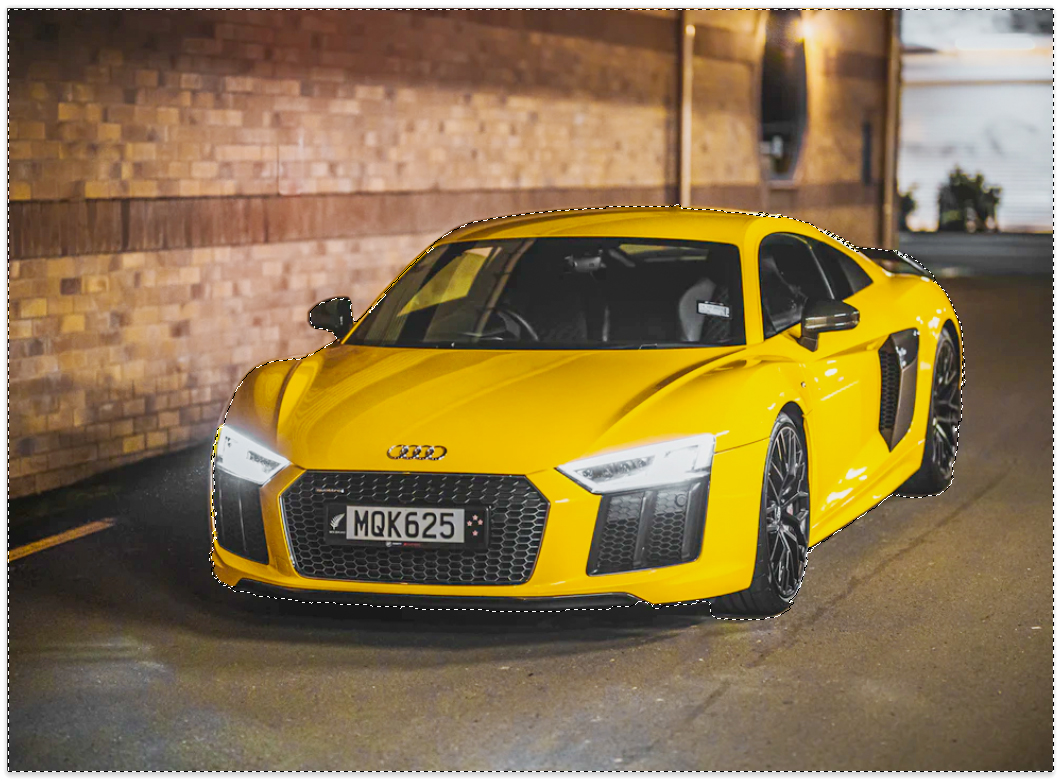
Use Photoshop’s Quick Select Tool to make the car stand out from the image background. There is no need to be too precise. Ensure that the tool has included the wheels. Using the deselect tool, remove other parts of the picture below the car.
Step 3
Now, go to the Selection Menu and click Inverse.
Step 4
Post this, head to the image menu, then Adjustments, and select the Brightness and Contrast.
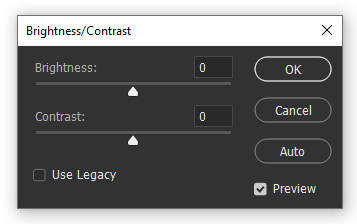
Lower the brightness to turn the background darker and play around with the contrast to make the car bright and reduce glare. To see the final result, go to selection and then deselect.
Step 5
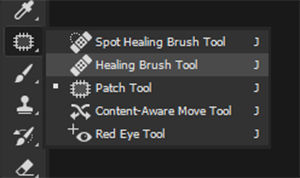
From this point onwards, you can go ahead to edit images for classic automotive photography. The first step is to soothe out any blemishes on the paintwork or smudges left while cleaning.
Most image editing software, including Photoshop, have a tool for the same. It is known as a ‘healing brush.’ Use the tool to get rid of blemishes by blending them into contextual pixels.
Step 6
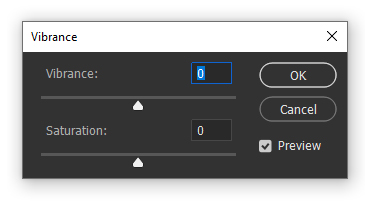
Photoshop allows you to bring the colors up and down. You can also increase the contrast and brightness of the picture to make it pop.

The Color Range Tool can do the job properly. Follow the steps – Image>Adjustments>Brightness and Contrast. The vibrance and saturation can also be adjusted from the same menu.
Step 7
Users can also add some quirky effects, such as the darkening of windows. You can use the Quick Selection Tool to do the same.
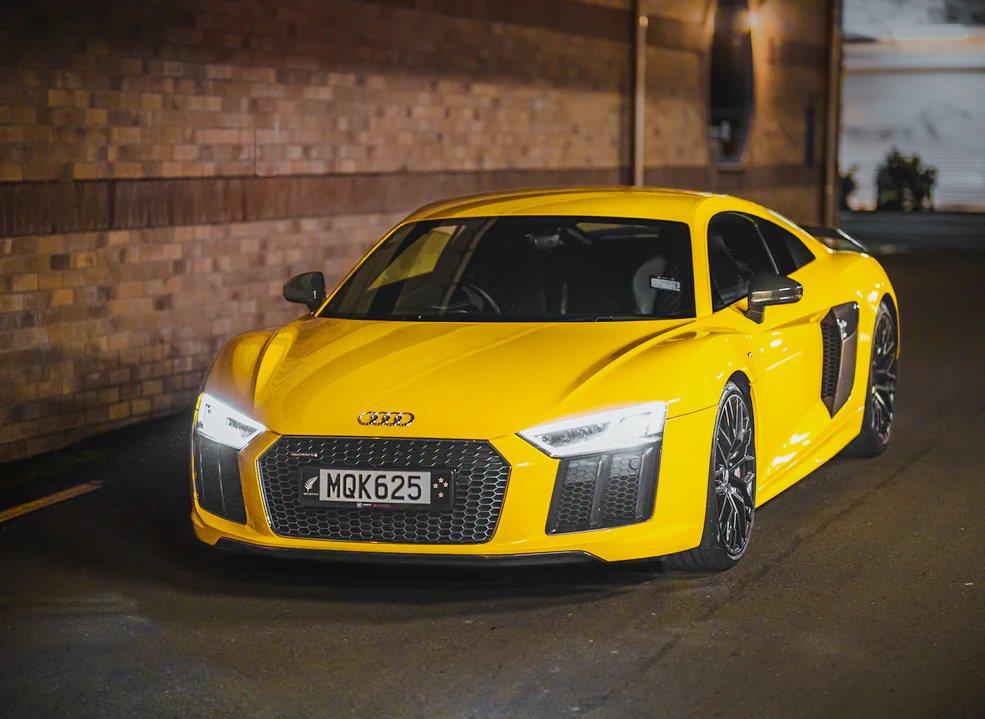
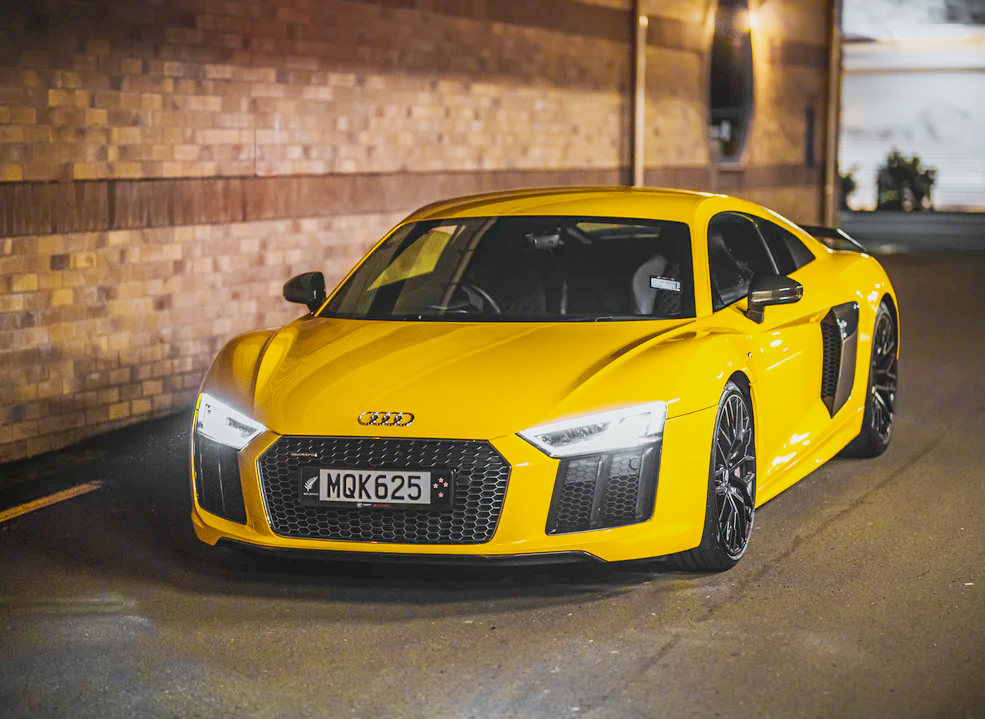
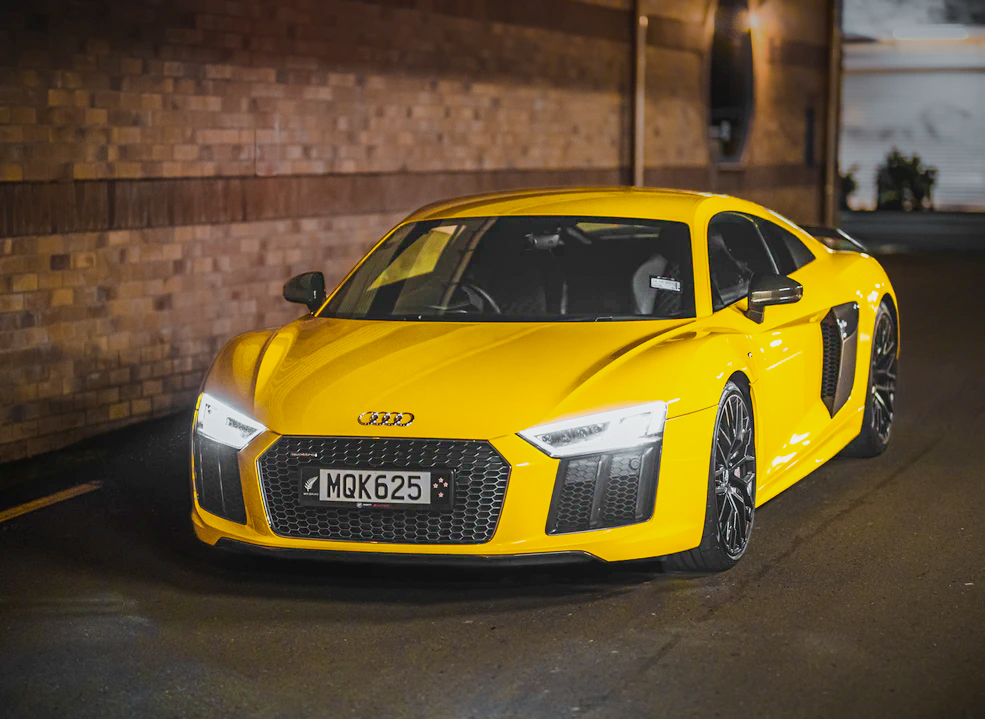
Here’s our finished photo. The editing is done an extreme side to show you what can be achieved.

Bottom Line
Be it selling a car or simply following your passion, there are a few things you need to focus on when doing automotive photography.
The art is not just limited to clicking pictures of a vehicle’s interiors and exteriors but also about being creative and unique with every image.
We hope that our guide educates you about automotive photography so that you can do it right. What are you waiting for? Pick up your camera and get on the road!


Comments (0)