- Tips & Tricks
- Apr 19, 2024
Getting Started with High Volume School Photography Business with Slazzer
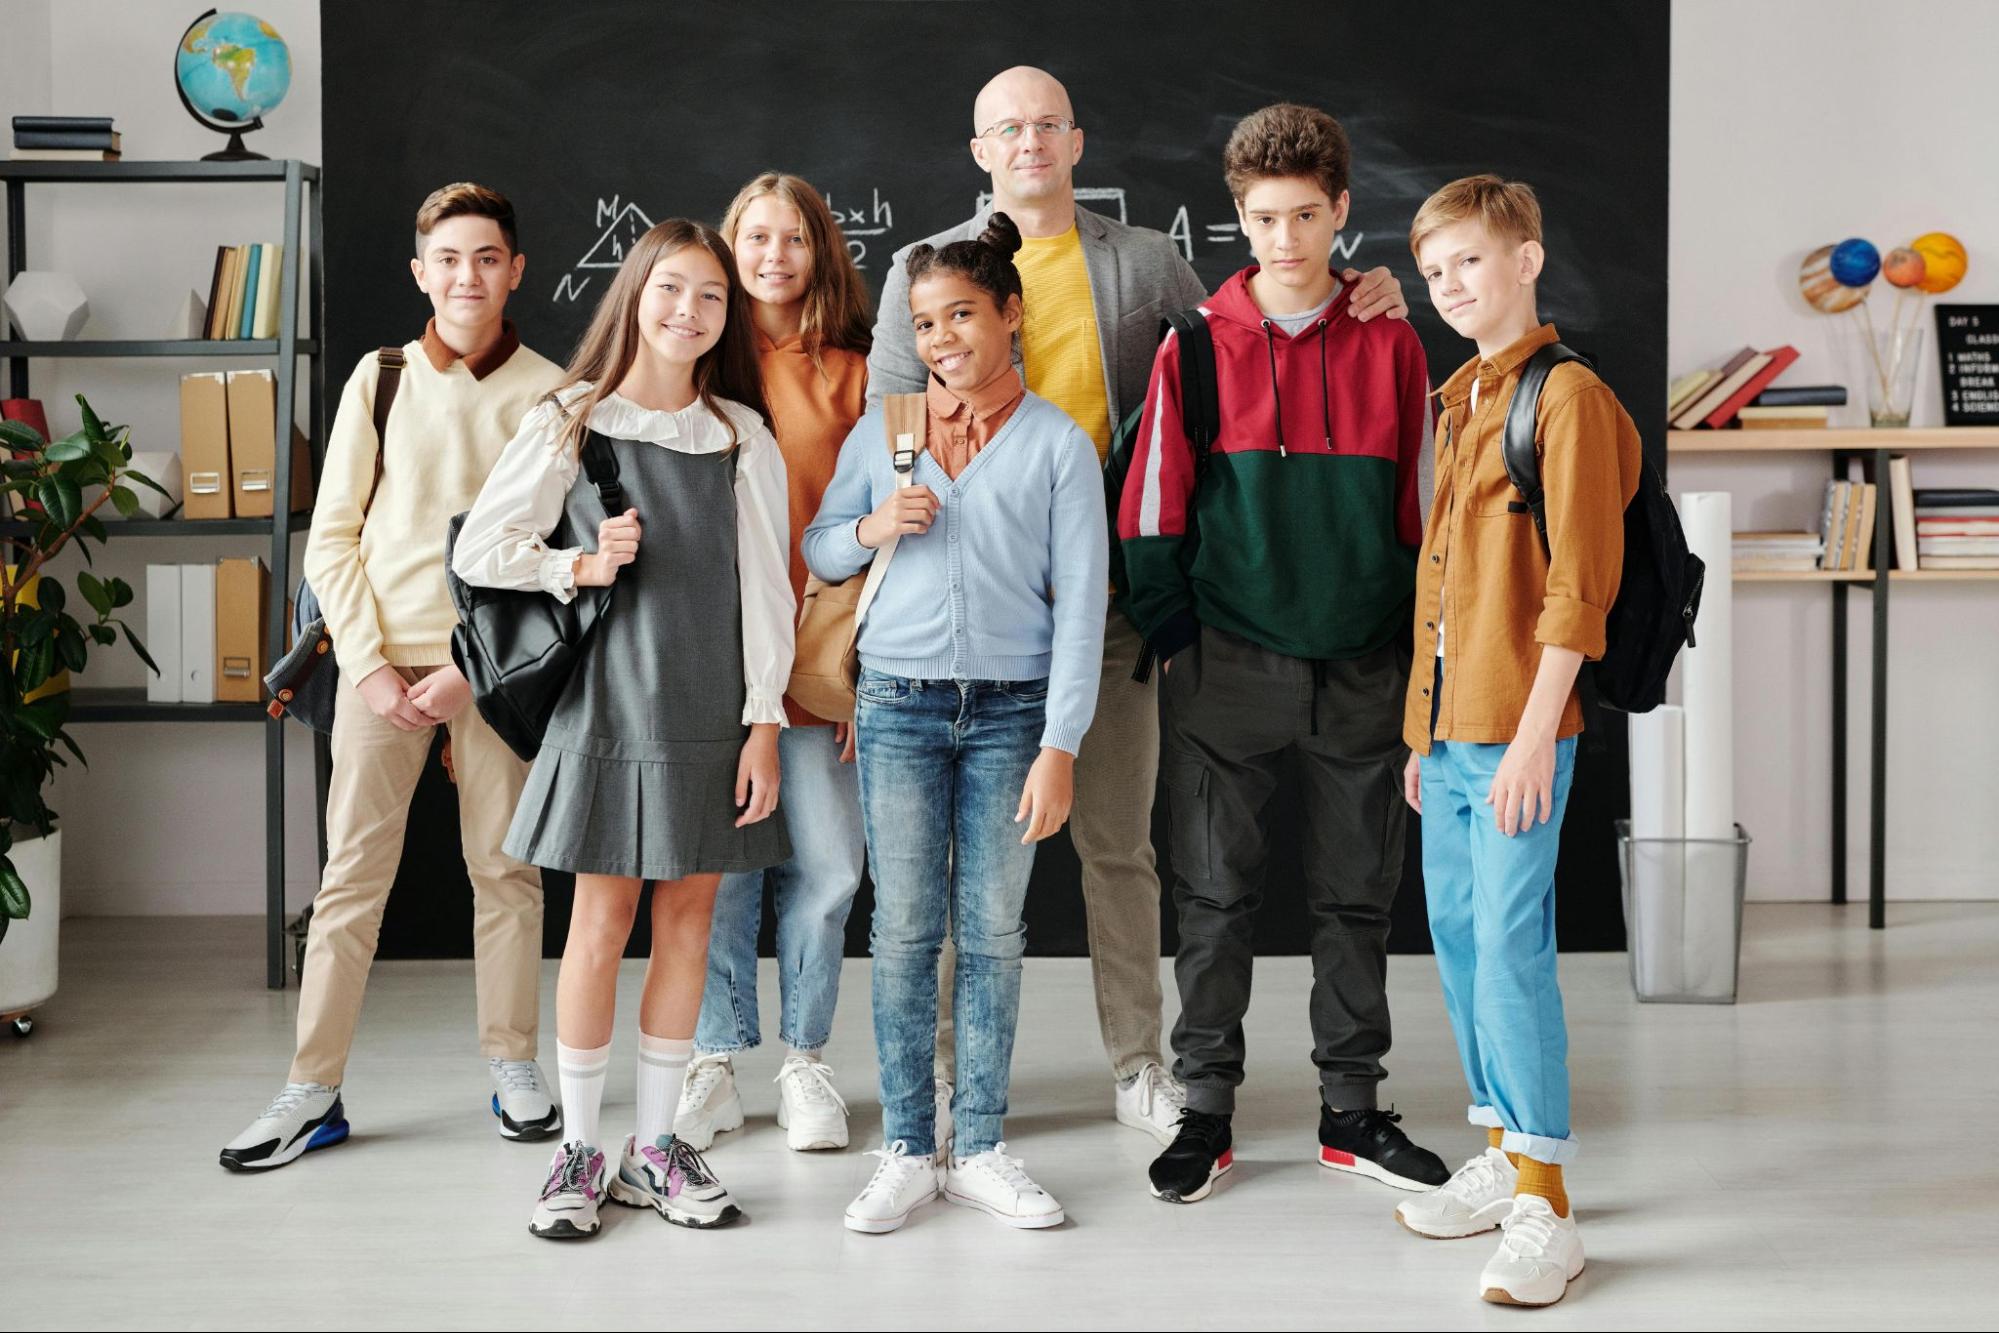
High-volume photography in itself is a huge niche that is often overlooked by many photographers. As the name says, this niche involves working with tons of images.
Adding this niche to your profile as a photographer can generate multiple income streams. The most appealing aspect is that high-volume work, like school photography, tends to occur regularly within a set time frame each year or quarter.
This article explores how Slazzer can up your game in the high-volume school photography business.
What exactly is high-volume photography?
Photography is an art but can be a business too. High-volume photography is a niche in the photography business that handles a large number of clients and photo shoots. These are based on the events like:
- School Photography: Handling class photos, yearbook photos, and portraits for hundreds of students each year.
- Sports Photography: Handling photos related to teams practicing, games, and events.
- Corporate headshot events: Offering professional headshot services for businesses, ensuring polished and consistent company profiles.
And more.
Why to add this niche to your service offering?
There are multiple perks of adding this niche to your offerings.
- Less editing work: In this type of photography, very little editing work is required and you can automate the whole workflow.
- Loyal Client Base: In this niche, it creates a loyal client base, as once they hire you they will hire you regularly when the need arises(every year, maybe) or maybe you can make a contract for some years.
- Less Turnaround Time: As minimal editing is required, and most of the work can be automated you can deliver on time or early.
- Very Scalable: There is a lot of potential to scale your business, as 90% of the work is automated, and as a result, you will deliver on time and with quality, you can take on multiple projects.
Tech and Setup for High volume Photography Businesses
Running a high-volume school photography business requires efficiency and quality at scale.
Set up a fast workflow
To handle hundreds of photos each session, you’ll need a system to speed up post-production without sacrificing quality.
As you will deal with bulk images, the most basic task is with changing backgrounds from all of the images at once. You can use Slazzer which will help you in removing and adding new backgrounds to the whole image batch in some seconds.
Slazzer gives you industry-standard quality editing simple. Slazzer has multiple products including the Slazzer desktop app and the Slazzer Photoshop plugin, which can help you work with images wherever you like. You will learn more below on using these tools. Check out other Slazzer Products too.
Invest in high-volume equipment
For school sessions, you’ll be shooting hundreds of photos in a short time. A high-speed DSLR camera, wide-aperture lens, and external flash will allow you to work quickly while still capturing high-quality images. You’ll also want extra batteries, memory cards, and a second camera as backup.
Quality control is key
With large volumes of photos, it’s easy for small issues to slip through the cracks. Perform spot-checks of your photos during each session to catch any problems early.
Once the session is over, do a final comprehensive review of a sample of photos from each class to ensure quality and consistency before delivering the final products to clients.
Offer multiple products
In addition to standard print packages, consider offering digital downloads, canvas prints, photo books, and other options. Giving people more choices can generate a different income stream for you, and the production of some items like canvas prints and photo books can often be outsourced to reduce your workload.
Focus on these fundamentals, get the technical details right, and you’ll build a successful photography operation.
Now let’s move on to prepping for high-volume school photography.
Optimizing Pre-Production and Production Workflow
There are multiple things you will have to do in the Pre-Production workflow so you can be productive and efficient throughout the project. Let’s prepare.
How to Prep?
Prepping properly for a high-volume school photo shoot is key to an efficient workflow and happy clients.
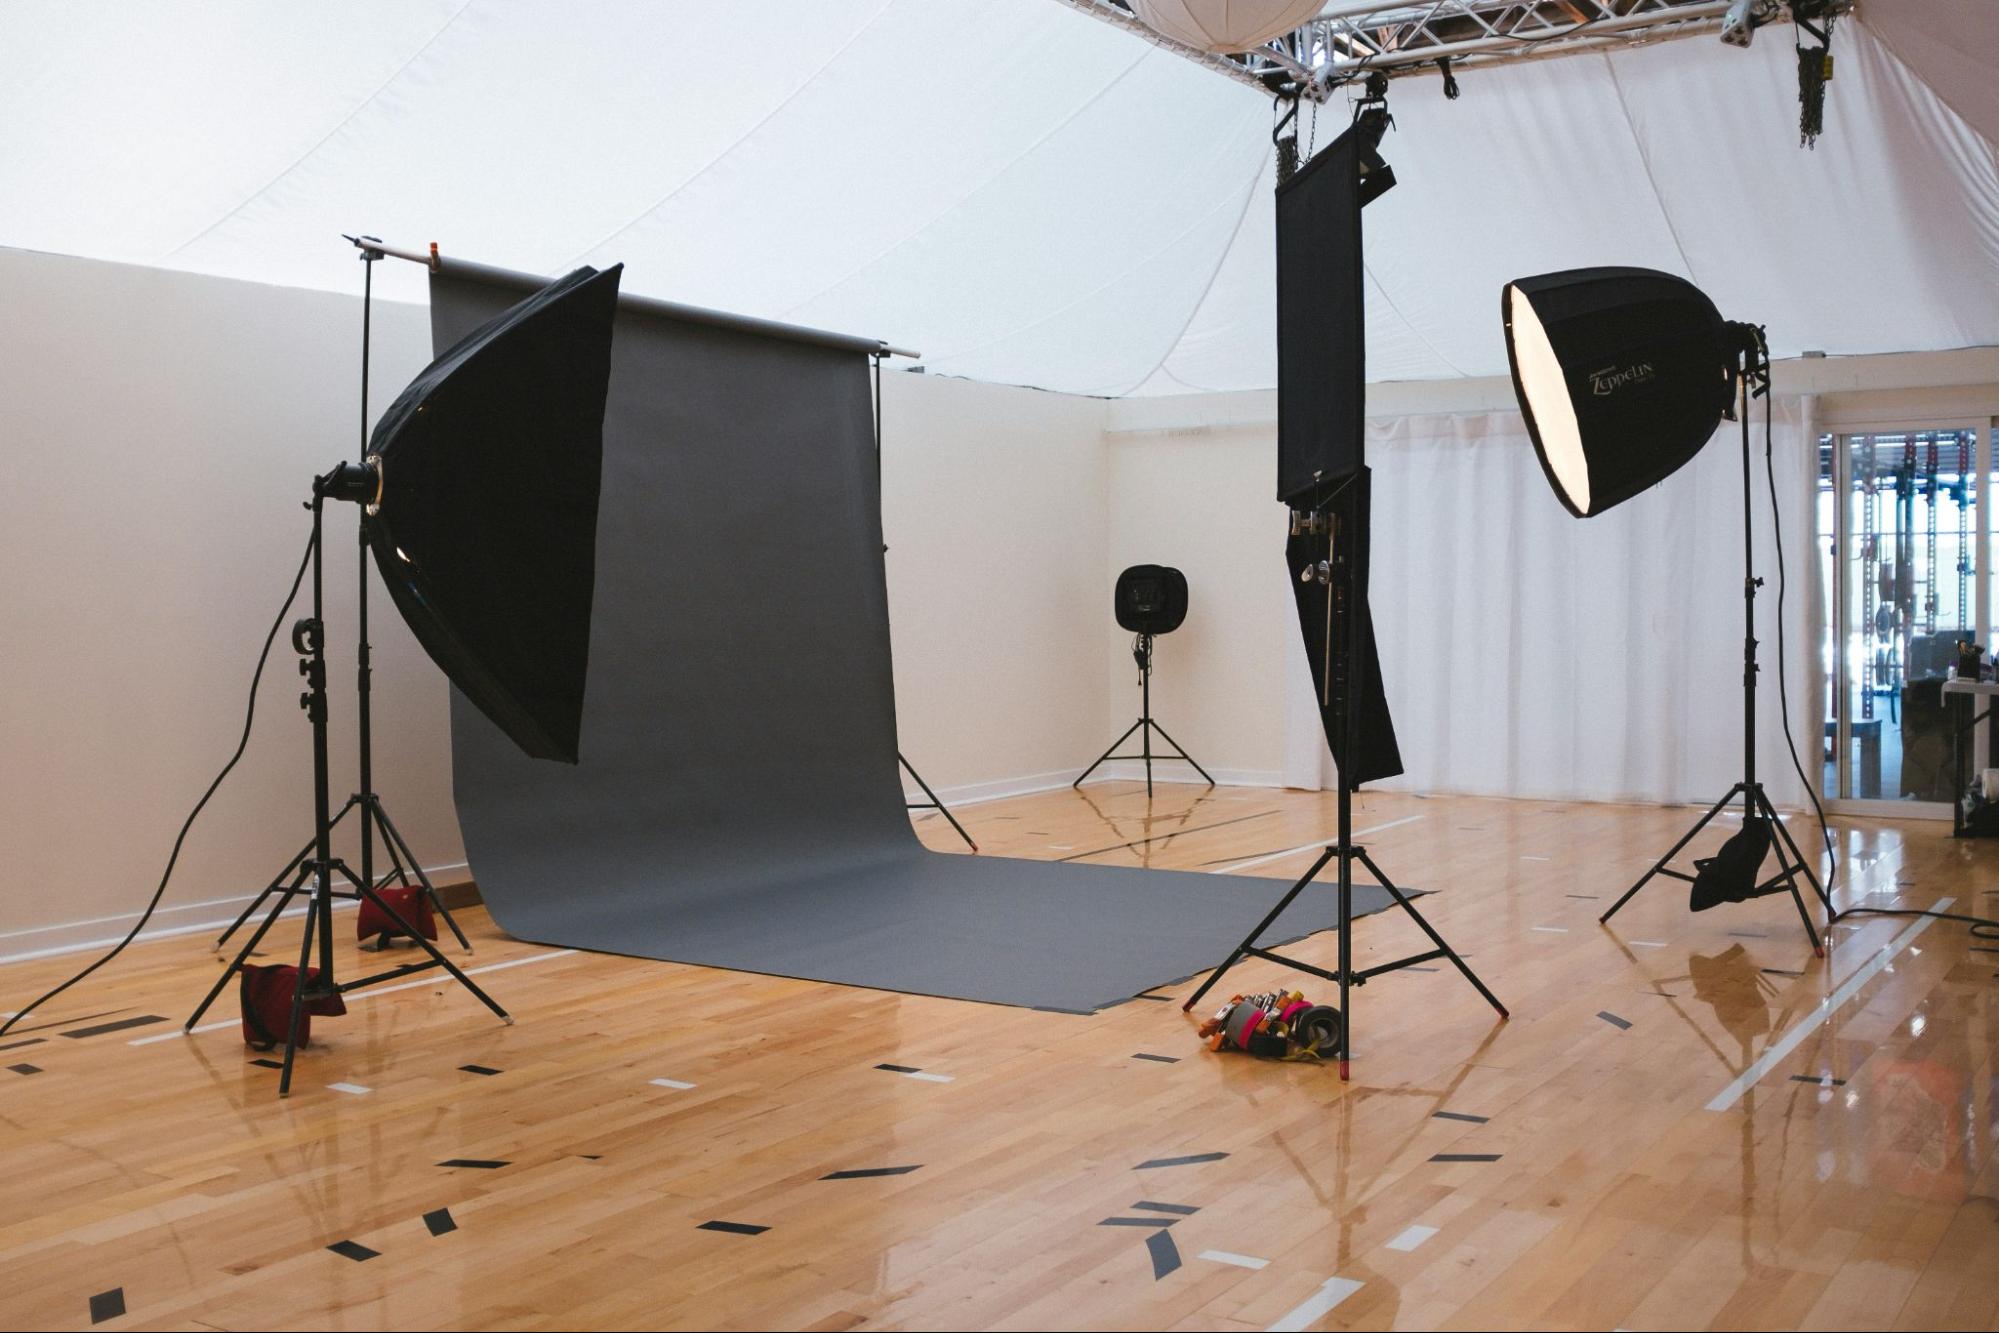
Location, location, location
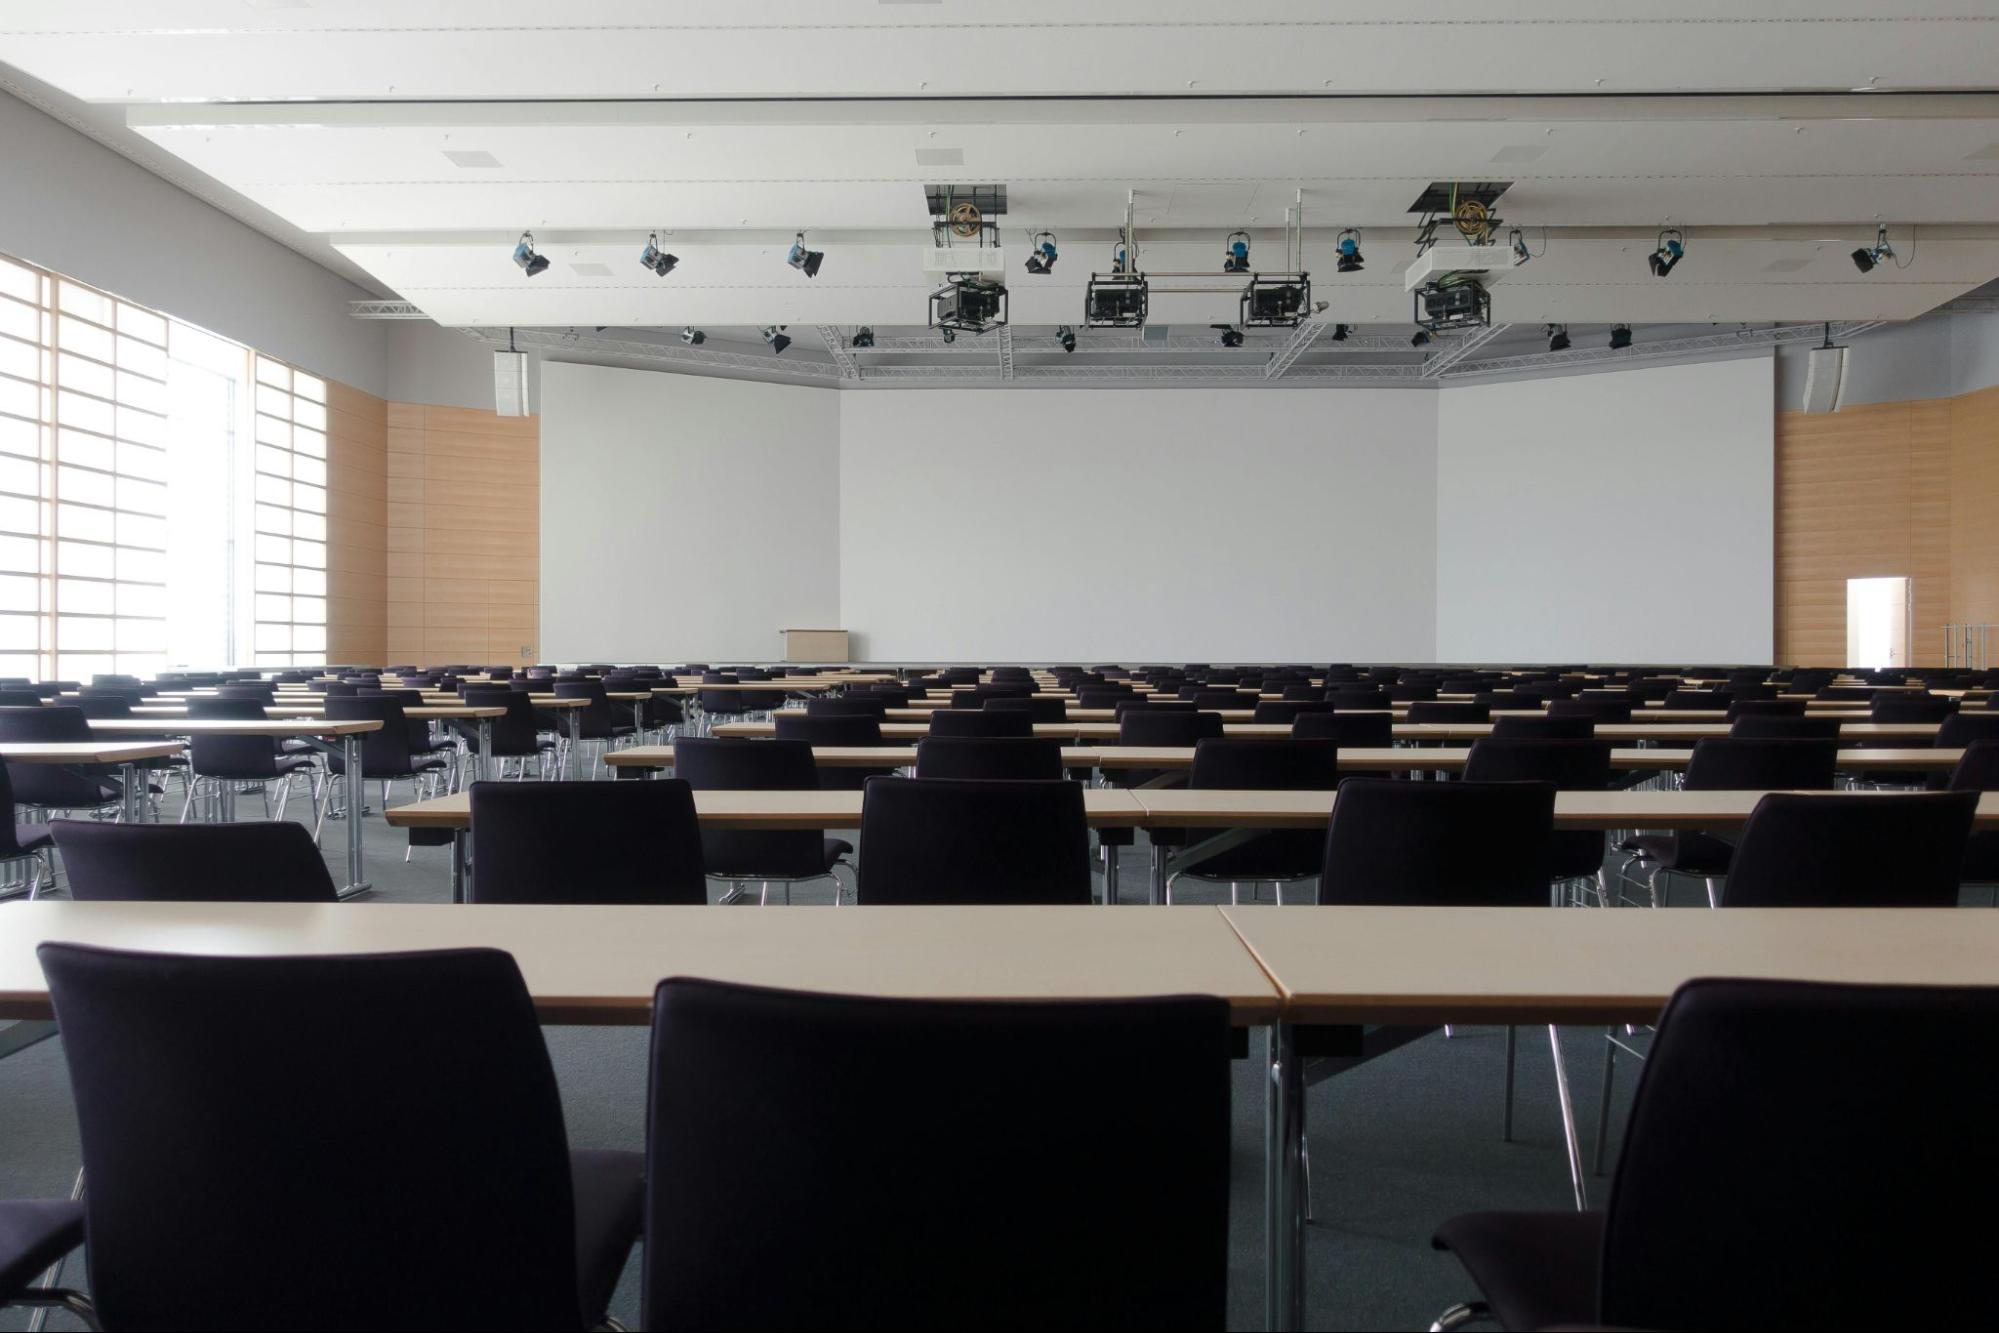
Find a spot with even lighting, minimal distractions, and enough space. Scout the location ahead of time if possible. Make sure you have enough power outlets and extension cords on hand.
Gear check
Double-check that you have everything—camera, lenses, memory cards, lighting, props, etc. Nothing slows down a shoot like having to stop to grab the gear you forgot! Have backups of critical equipment too, in case anything malfunctions.
Schedule and timing
Know how many students you need to photograph and how much time you have. Build in buffer room for unexpected issues. Communicate the schedule clearly to school staff and students ahead of time. Keep students moving through efficiently while still getting great shots.
Comfortable subjects
Help students feel at ease. Smile, make eye contact, and engage them in light conversation. Have some jokes or tricks up your sleeve for shy kids. Provide guidance on how to pose. Keep the experience positive and fun.
Group shots
Don’t forget to get group shots of different grades, classes, sports teams, clubs, etc. Arrange students, check that all eyes are open and everyone is smiling, then snap away.
Group shots are highly valued keepsakes for students, parents, and the school.
Putting Your Photos in Place: Deciding Where They Belong
One of the biggest challenges of running a high-volume school photography business is keeping thousands of images organized. You’ll want to establish a filing system before the first day of shooting to avoid a post-production nightmare.
A good rule of thumb is to organize by both school and grade level. Create main folders for each school you serve. Within each school folder, have subfolders for each grade. From there, you can create subfolders for each class section. This makes it easy to locate images from a specific classroom on the spot.
You can also think of a naming convention for your image files. Something like “School name_Grade_ Class section_Student last name” works well. Be sure to use underscores instead of spaces in file names.
This convention will ensure no two files have the same name, and make searching a breeze.
For efficiency, you can use software like ACDSee or Adobe Lightroom, that can apply metadata to your images on import. Metadata like school name, grade, teacher name, and class section can be added automatically using these tools. This provides an additional way to filter and search for images quickly.
To keep your office and computer organized, set up a dedicated workspace just for photo editing and managing your images. Make sure you have plenty of storage, a fast computer, dual monitors, and a color-calibrated screen.
Keep your files backed up to both a physical drive and a cloud service like Dropbox or Google Drive in case anything happens to your local storage.
Streamlining Post-Production for Sales Success
So you’ve invested in high-quality cameras, trained your photographers, and booked a full schedule of school portrait sessions.
Now it’s time to tackle all those images in post-production. With hundreds or even thousands of photos for each school, editing, and retouching portraits manually just isn’t feasible.
That’s where
Slazzer comes in to remove and add new backgrounds
You can give schools a variety of options for designs, backgrounds, or styles. Schools can have custom requirements related to adding watermarks to images or they can have personal color recommendations for the backgrounds. Slazzer will help you reduce hours of edits related to this.
Let’s test Slazzer and see the results.
- Head over to Slazzer.com
- Upload your image or simply drag and drop, and in a second or two Slazzer will remove the background.
- Click on the edit option, and add a new background. Let’s add some colors.
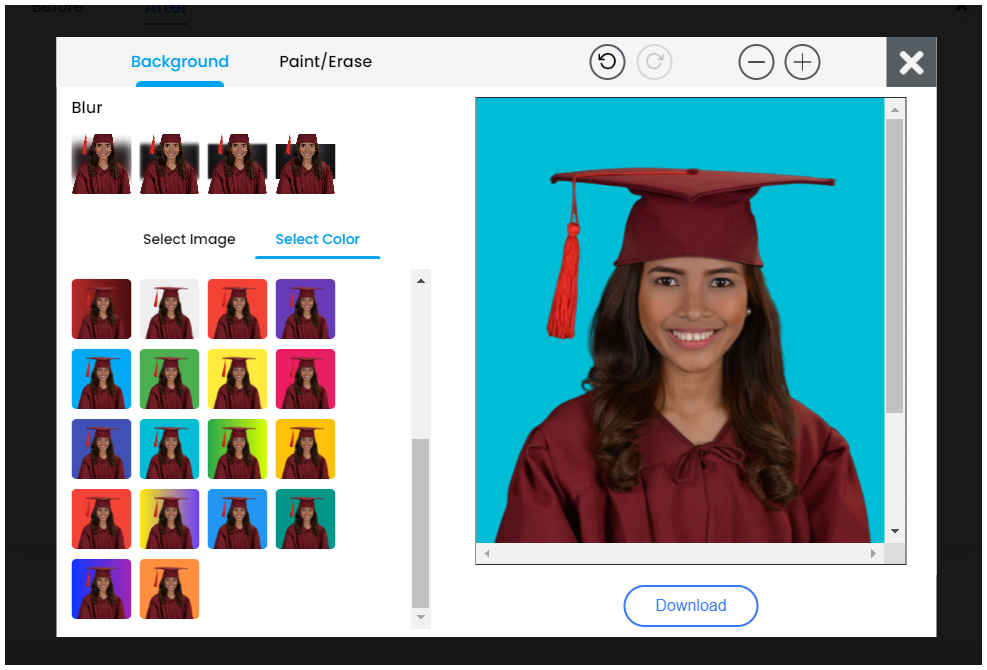
We’ll talk about bulk background image processing below.
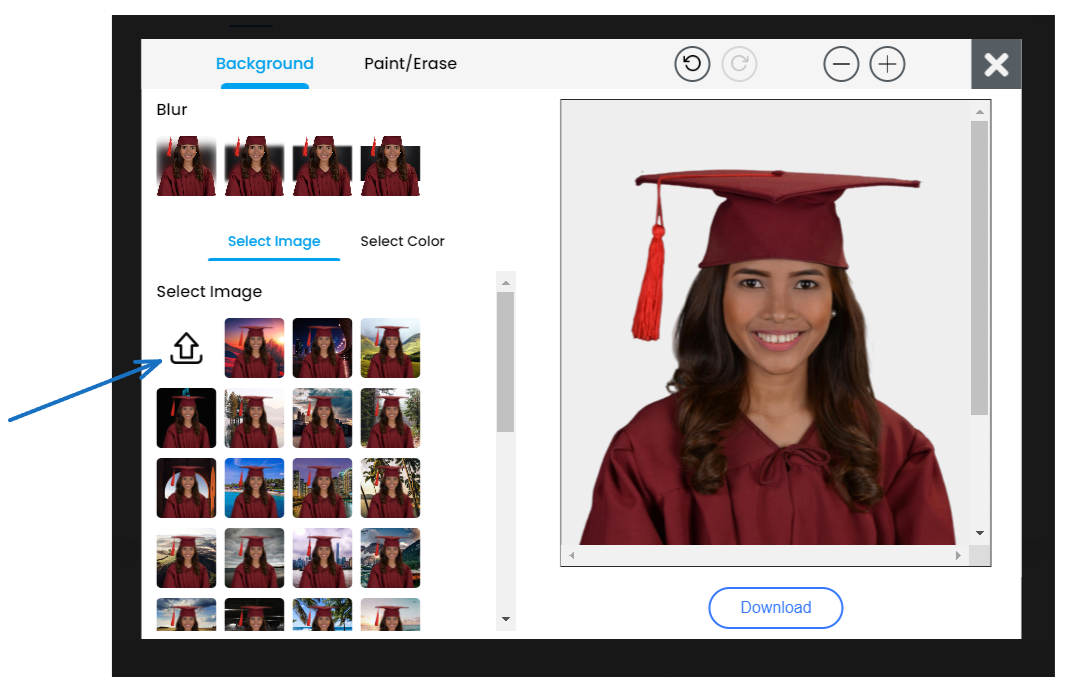
- You can also add image backgrounds to your photos, for custom backgrounds click on the upload button and upload from your system.
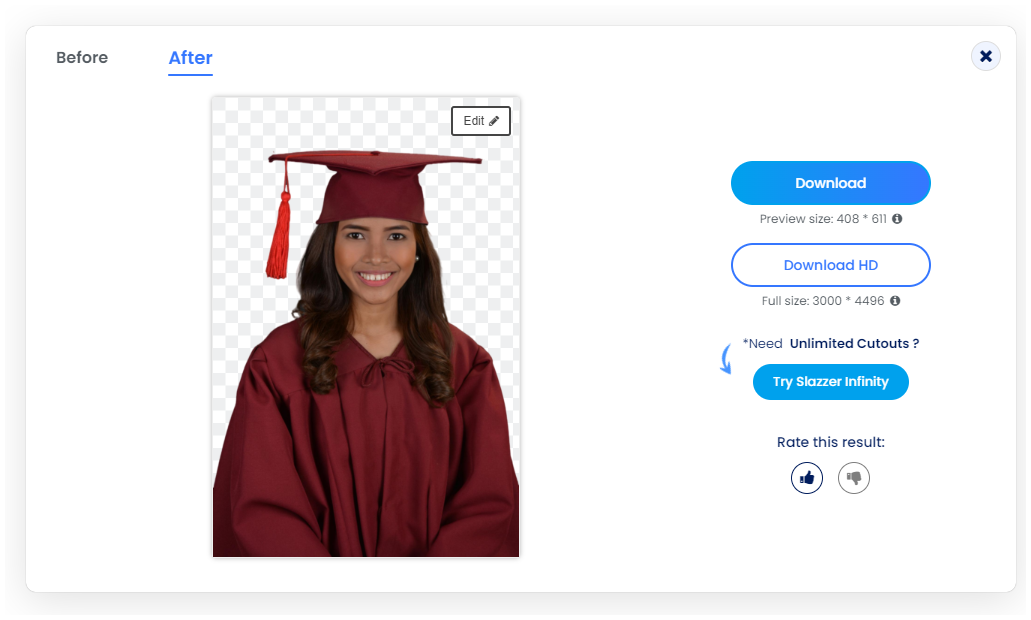
- To try with multiple backgrounds and see what is the best, once you are satisfied you can download the image. To download the HD image you need 1 credit (sign and you can get it for free)
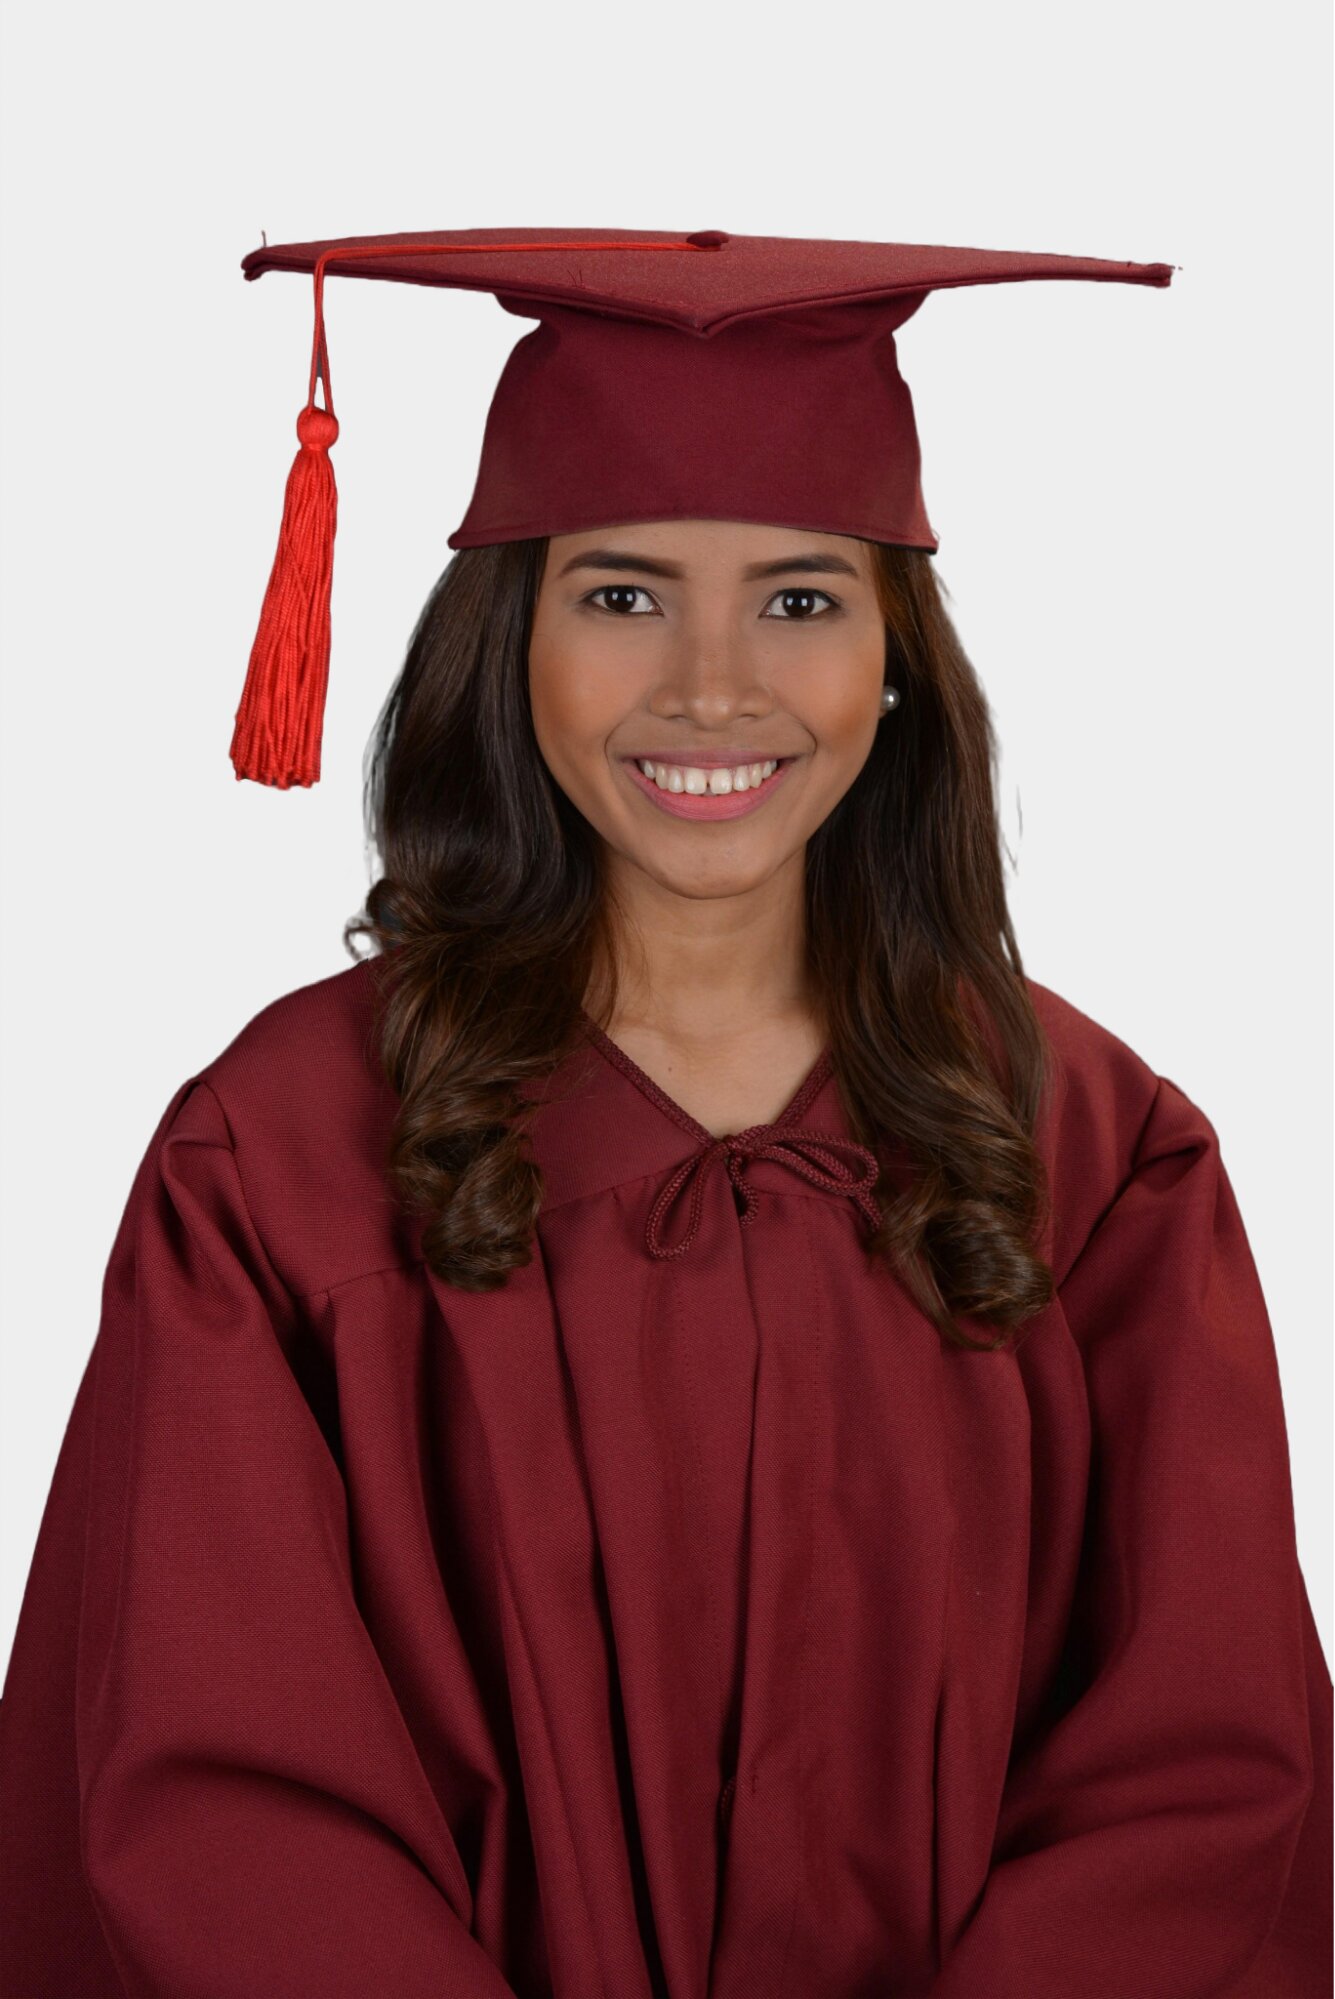
Here is the final high-quality result.
If you love it and want to work with all the images you will need the Slazzer Desktop app. Slazzer Desktop will help you with bulk background removal and batch processing. Let’s see how.
Slazzer Desktop App
- Head over to the Slazzer Desktop App page choose your Operating System and download, it is available for Mac, Windows, and Linux.
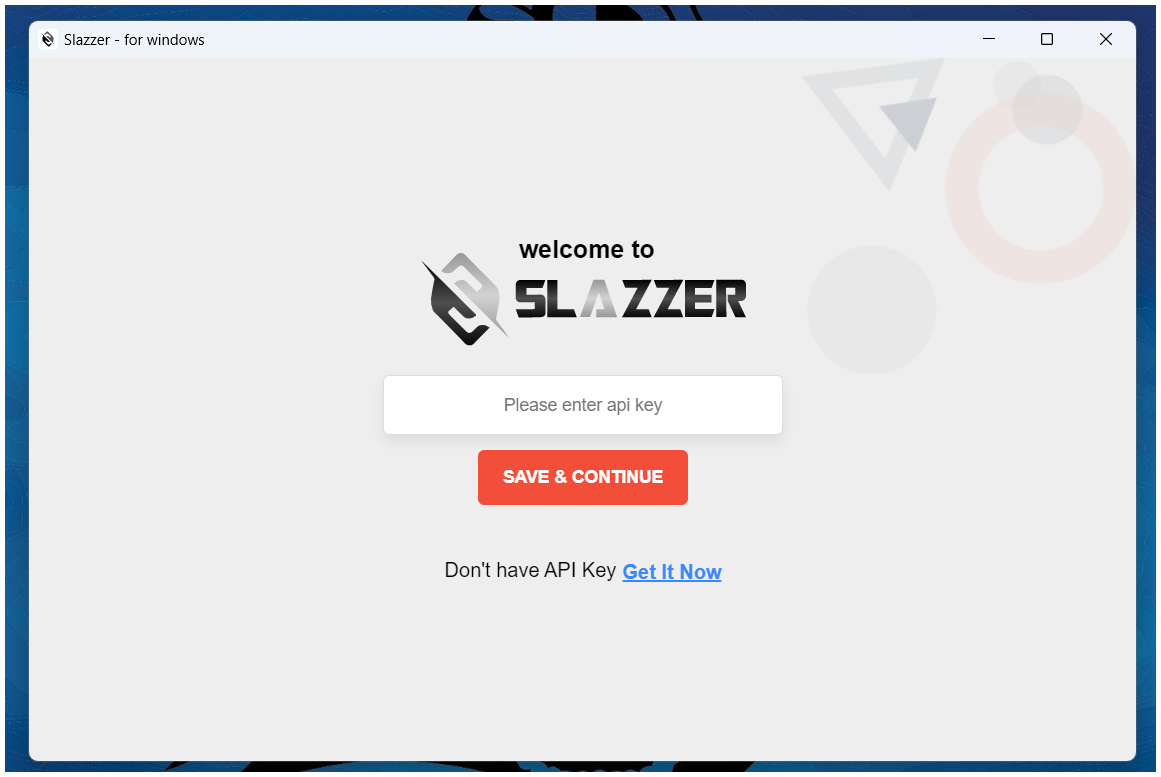
- Once downloaded, install it, and open the app, you will be asked for the API Key, which you can get from here once you log in.
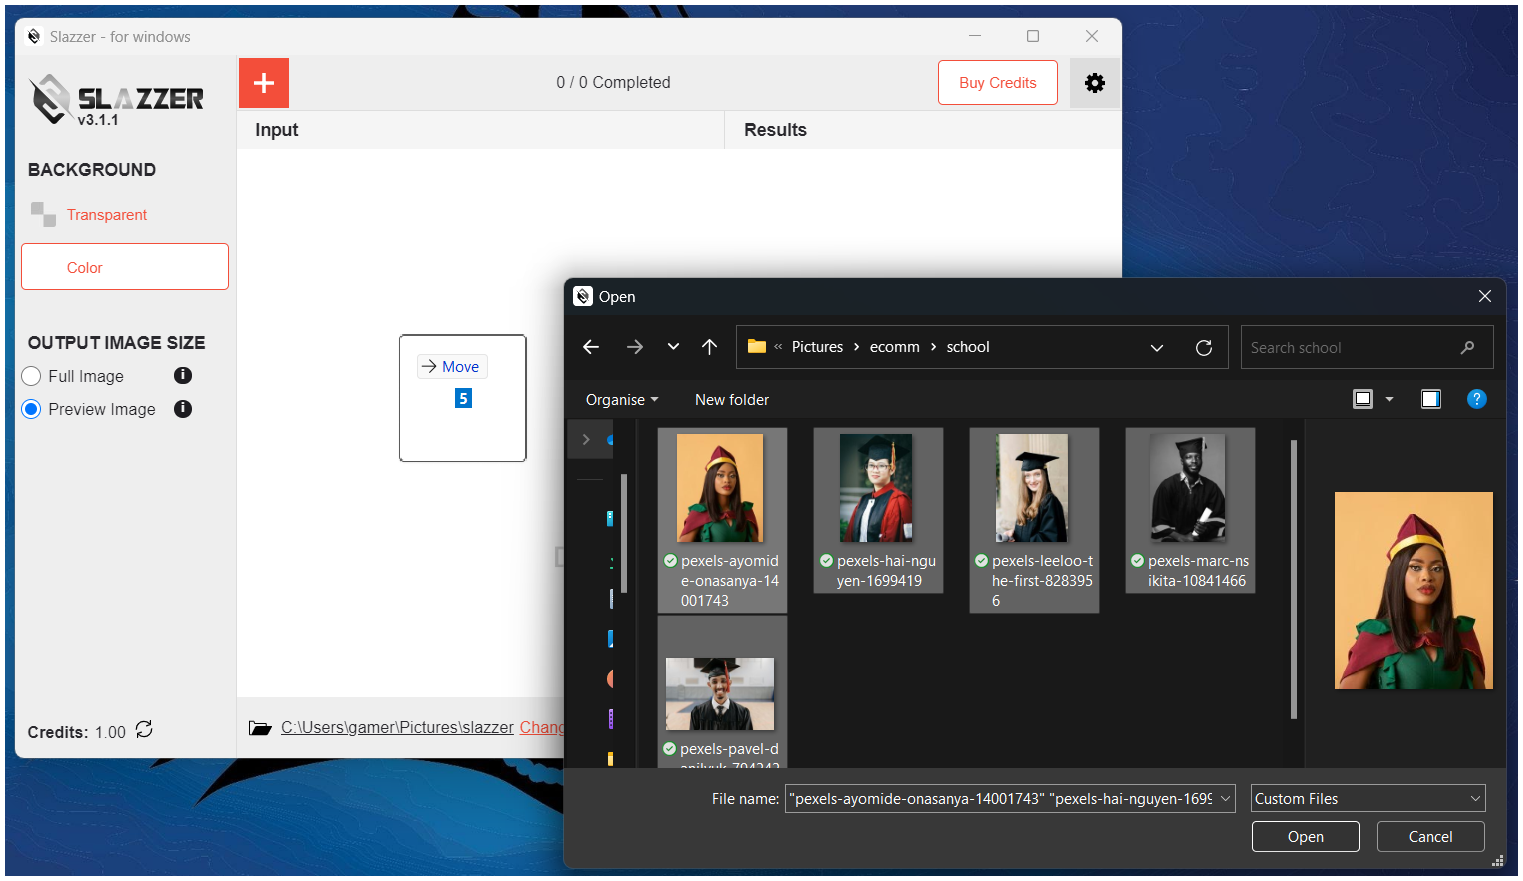
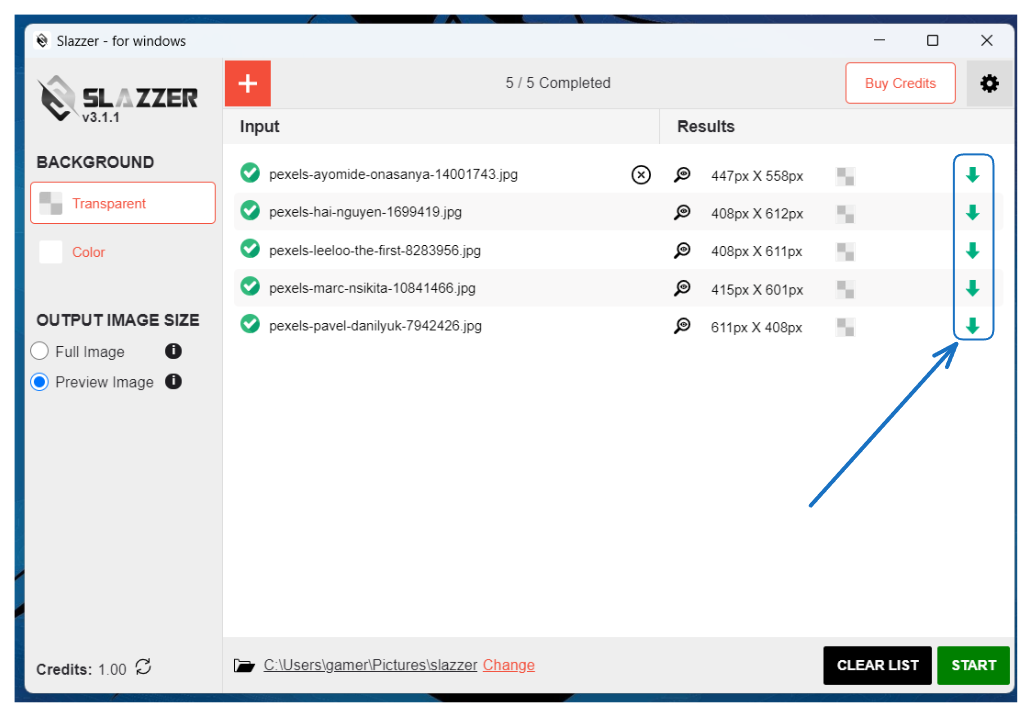
- After pasting the API Key, you can drag and drop the images in the interface.
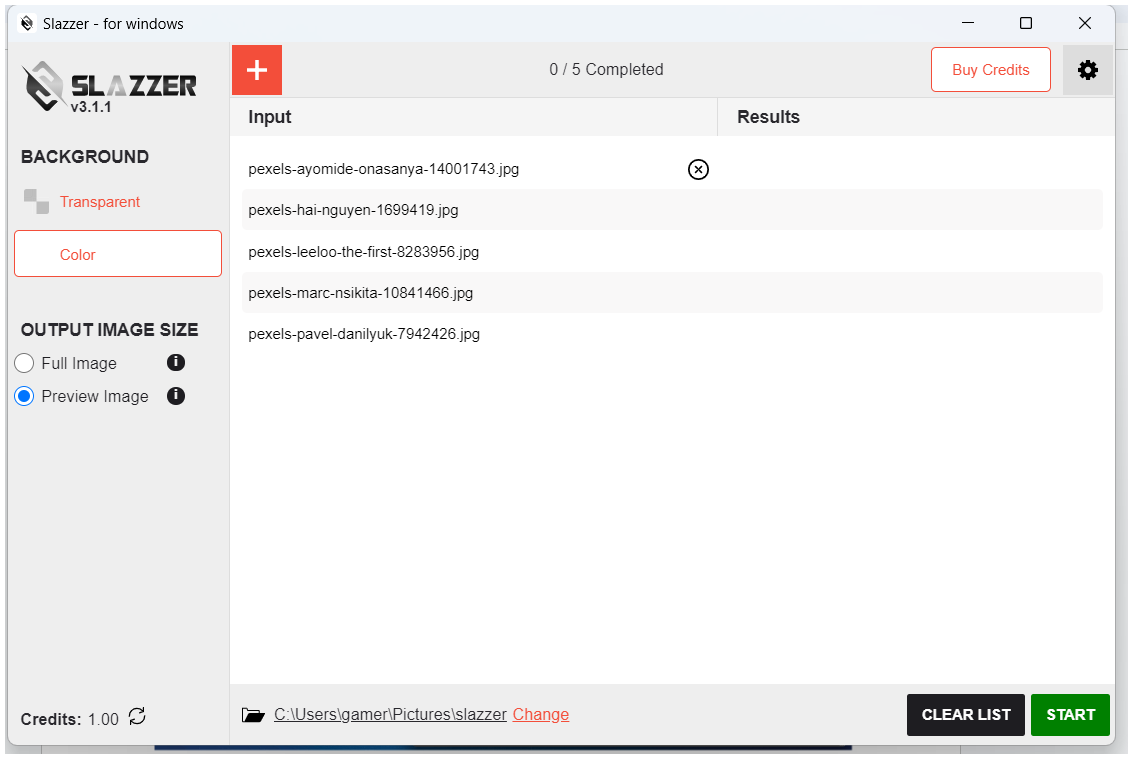
- On the left-hand side you can see the customization option to:
- Transparent Background: You can simply opt for just removing the backgrounds and getting transparent image output.
- Colored Background: Add custom color you can put HSL, RGB, or HEX Codes for colors.
- Choose the output type
- Full Image: Takes 1 Credit to give you HD Image output
- Preview Image: Small image file and takes 1/5 image credit
- Change the output folder, wherever you want the images to be saved.

- And Start. Within seconds all the work will be done and your images will be saved in the output folder you selected. To open the output folder you can click on the down arrow button on the interface.
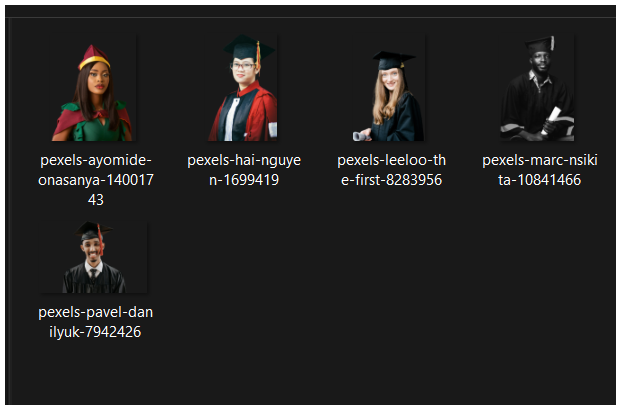
And you’re done.
Slazzer Photoshop Plugin
There are chances that you have edited the image and you want to directly process them under Photoshop, this can be done with the Slazzer Photoshop plugin.
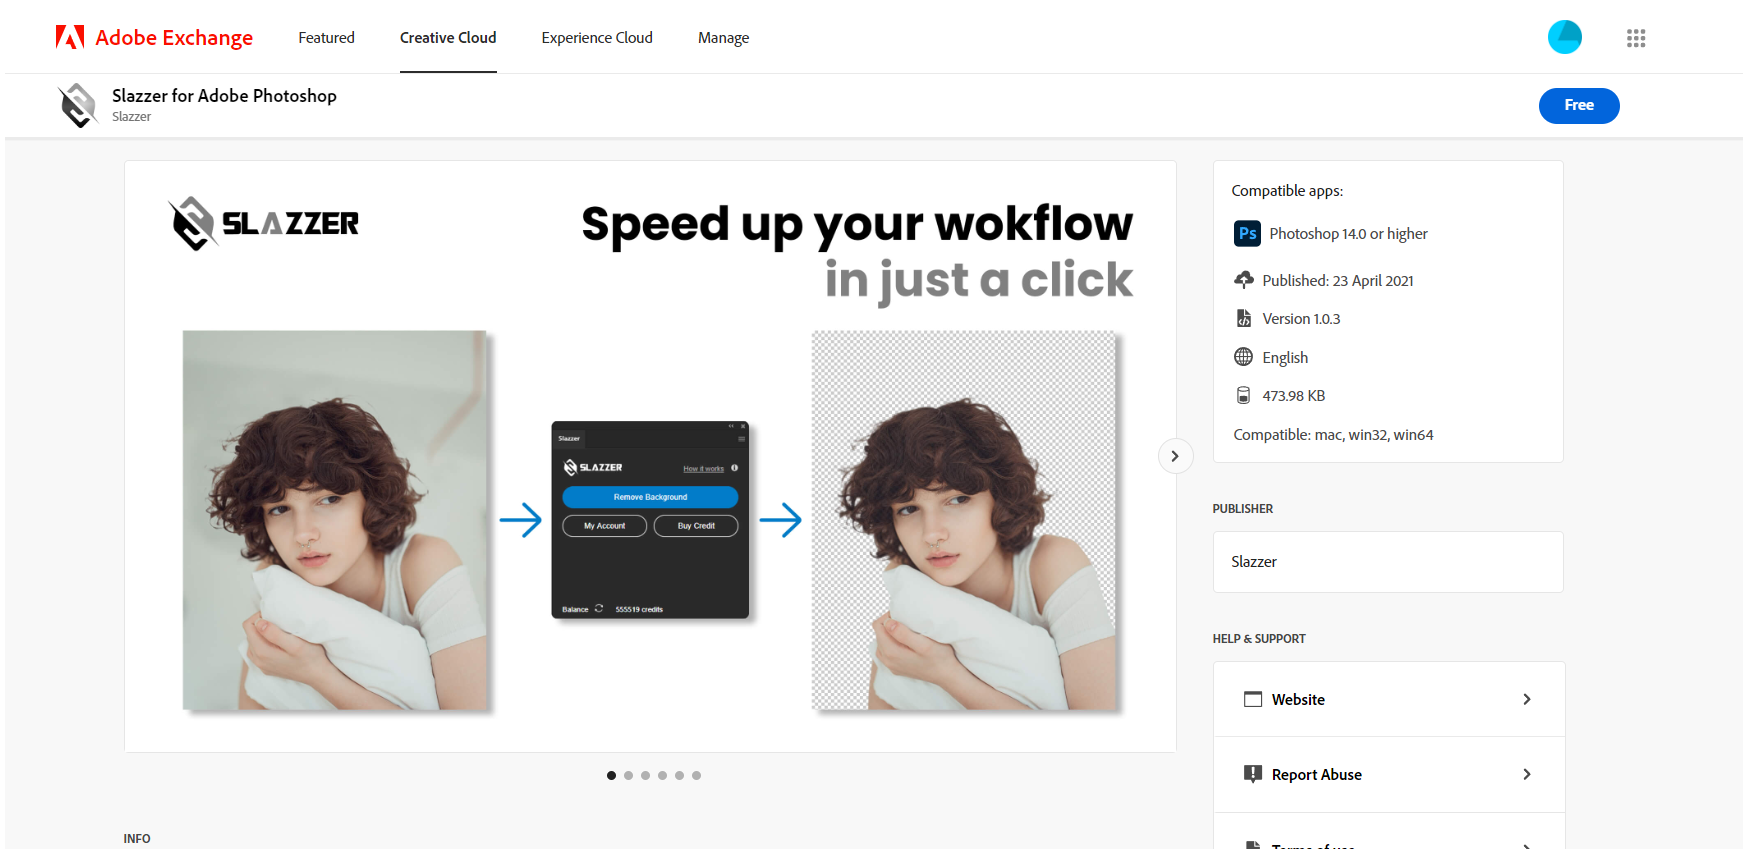
- Get the Slazzer Background Remover Photoshop Plugin from the Adobe Exchange
- After installing the Slazzer Photoshop plugin, open Photoshop, and at the top, you can find the Window option and clicking that you will get Extensions, and Slazzer will be there.

- Clicking Slazzer, will prompt for the API Key, you can get the API key from the account page once you log in.

- Now the removed background image/output will be saved as a new layer in Photoshop.
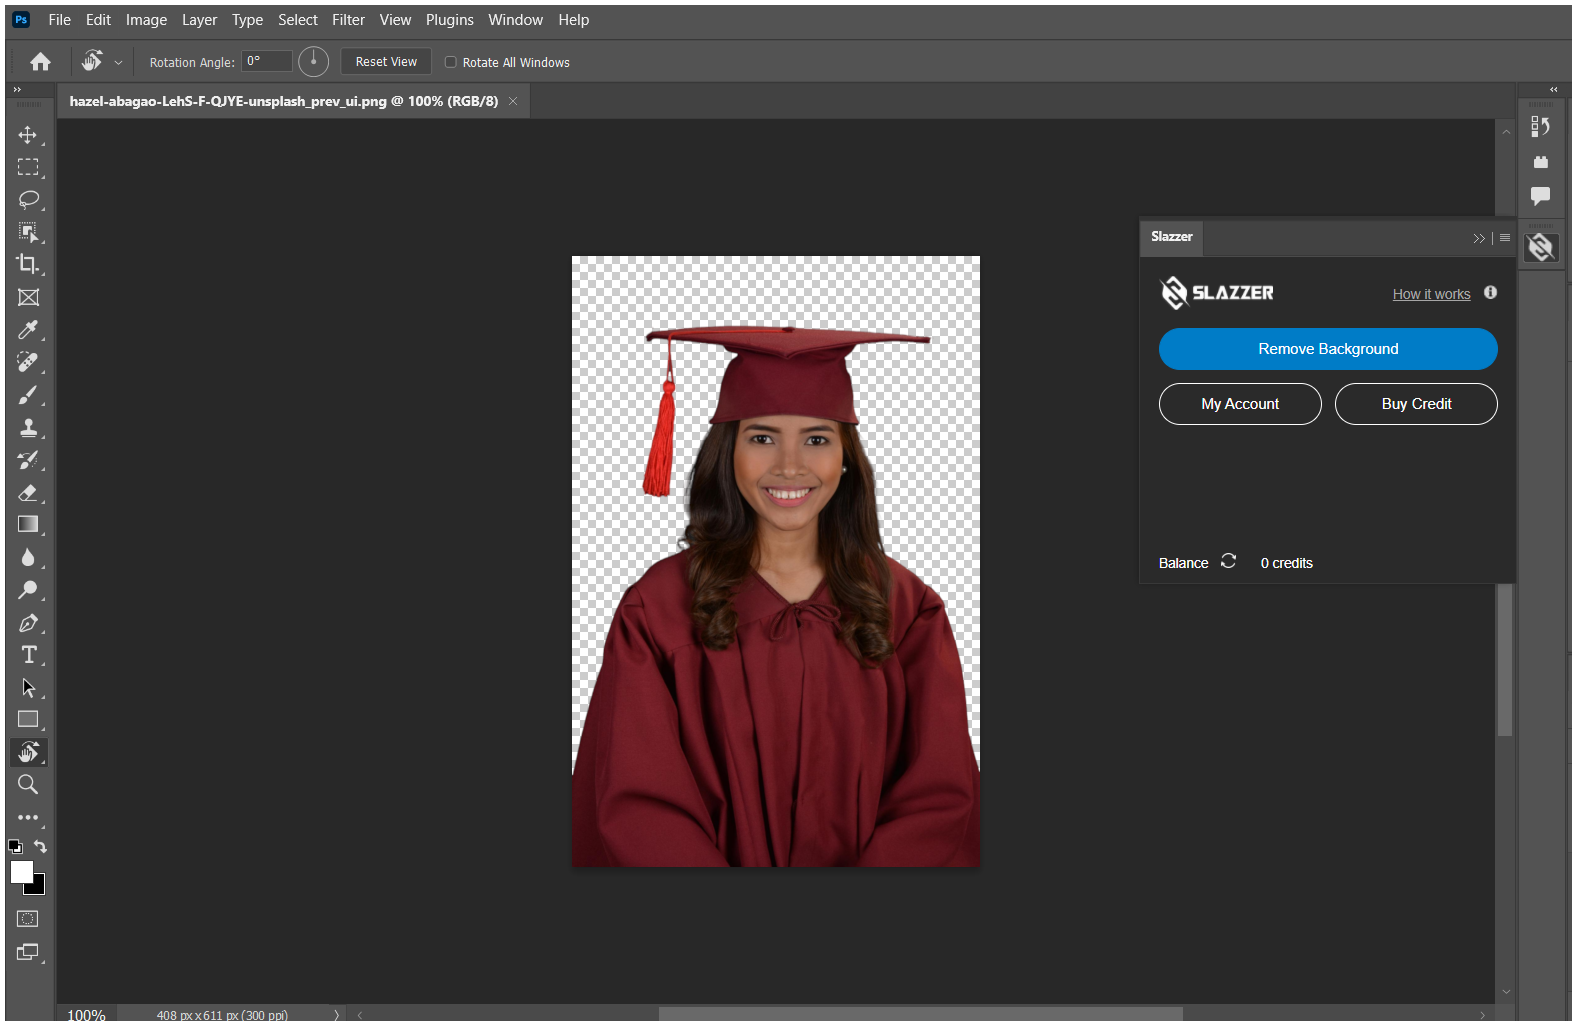
- And. You are done.
Why should Slazzer be your only choice?
Slazzer understands the complex needs of high-volume school photography businesses. The platform is designed specifically to help you streamline your entire workflow from start to finish.
Multiple integrations
Slazzer integrates seamlessly with the software you already use, so you can get up and running quickly without a steep learning curve. Their open API also allows you to connect Slazzer to your website, payment processing, and student information systems.
Powerful automation
Slazzer automates the major editing task in the high-volume photography business that is working with the backgrounds. Their AI identifies and removes the background in seconds.
Slazzer can help batch-process images, which means you can work with thousands of images all at once saving you hours of manual editing work and the cost of hiring a designer.
Simple UI, Zero Learning Time
As you saw above, the platform and the background removal desktop app are very simple to use, and just looking at it you can get an idea about how it works. You can get up to editing in a moment.
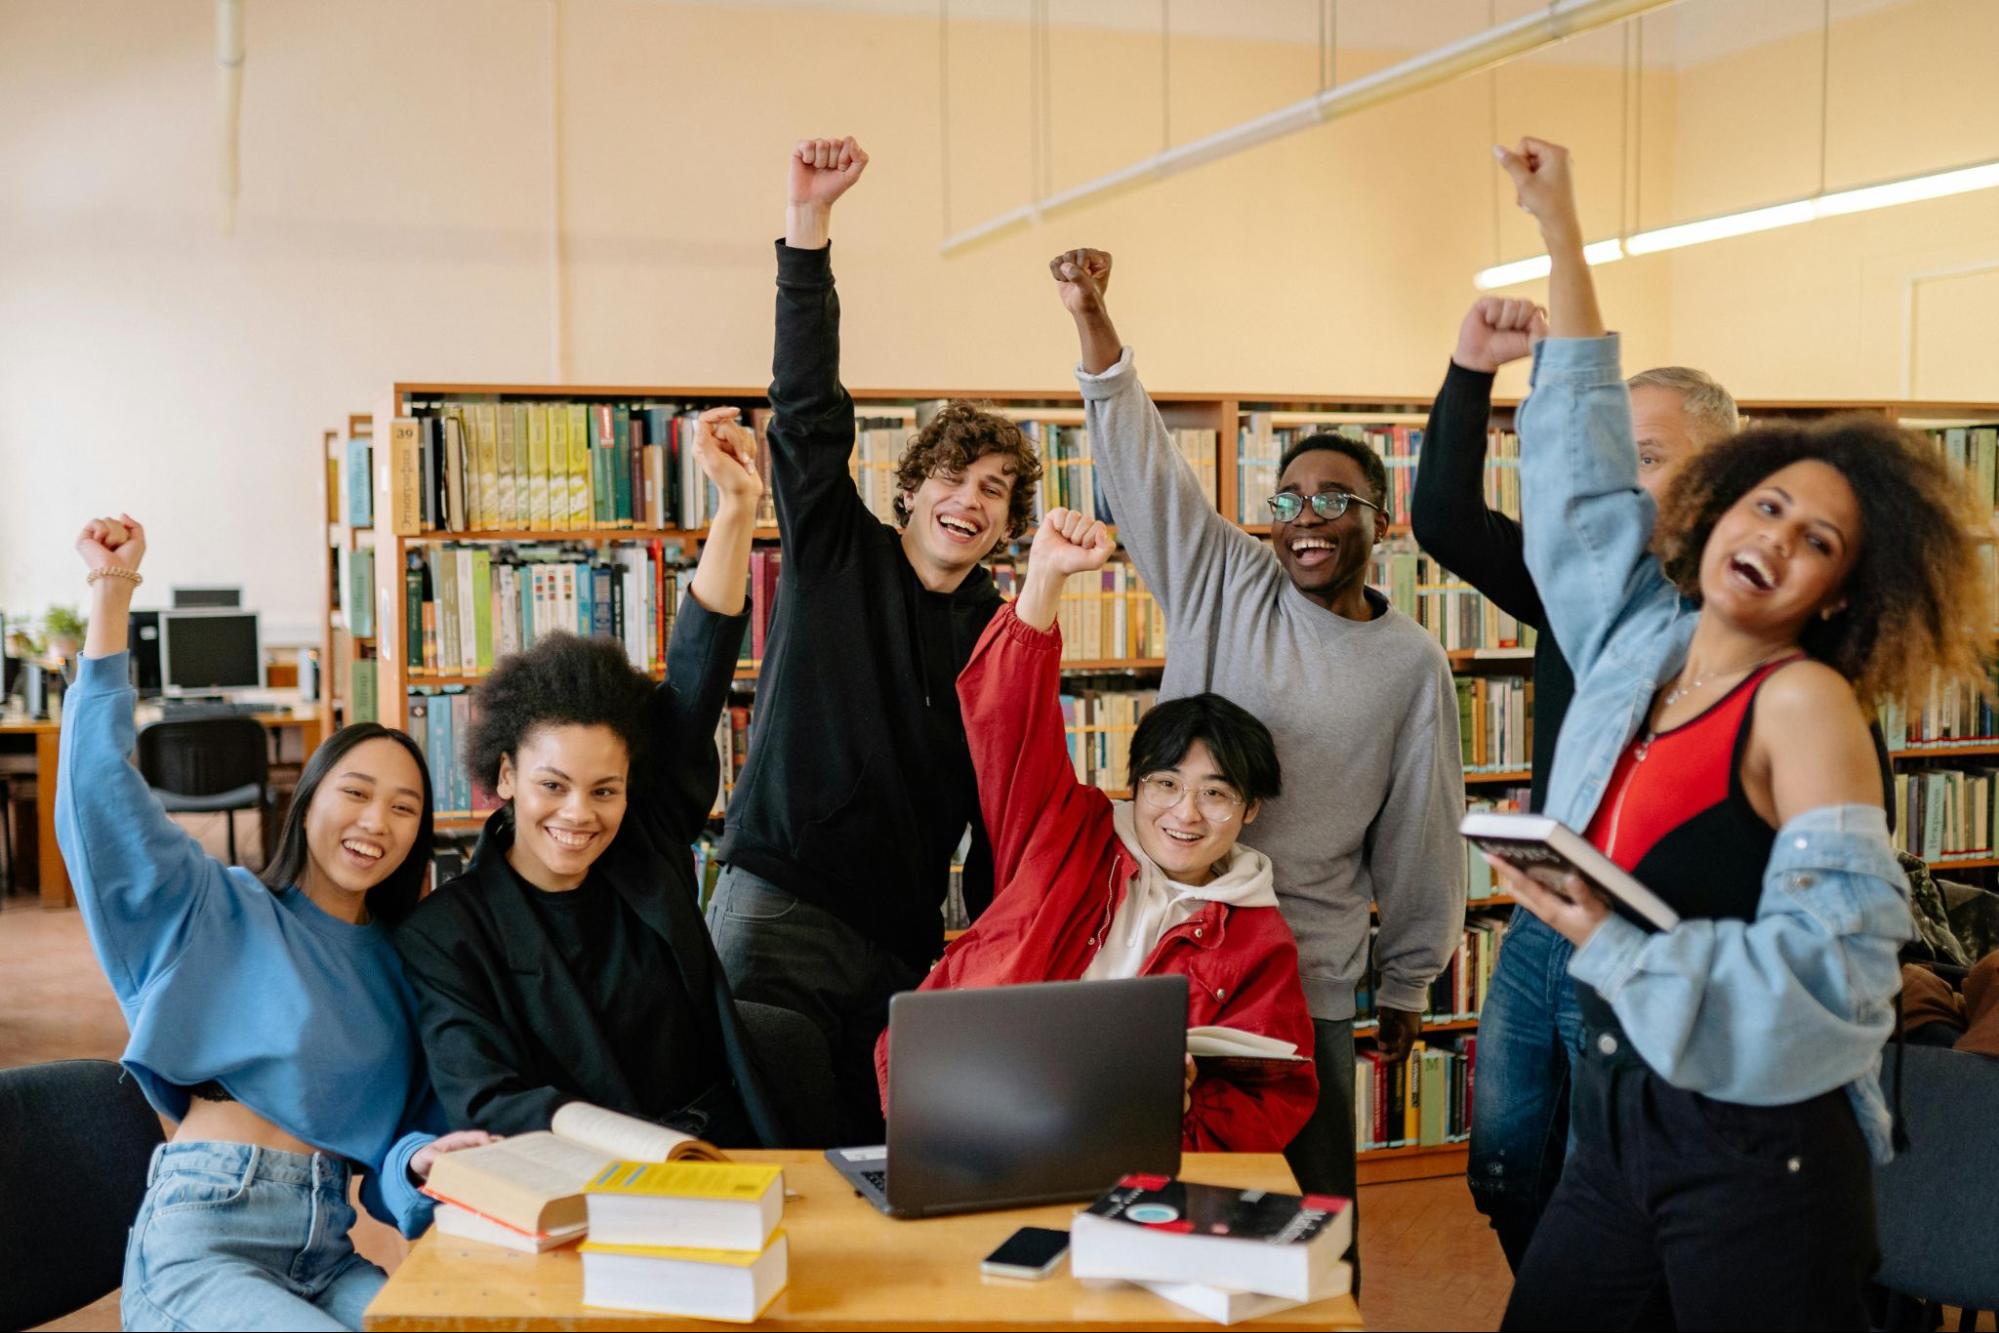
Happy Customers
Customers need fast and quality work. Slazzer will help you automate the tasks and deliver on time. What is more important than seeing happy customers referring you to others?
Slazzer allows you to scale your school photography business while maintaining high quality and exceptional service. Their platform is purpose-built to handle the demands of high-volume photography with powerful automation, and seamless integration.
Takeaway
You now have a good sense of how to get started with high-volume school photography using Slazzer. The key is to start planning early, get organized, nail your process, and then scale from there.
To recap, make sure you:
- Contact schools early, ideally 2-3 months before picture day. Build those relationships and lock in your dates.
- Get all your equipment, backdrops, props, and team ready well in advance. Practice and prepare. Have backups of everything.
- Create a seamless workflow and process for everything from scheduling to shooting to retakes to delivery. Move students through efficiently while still capturing great smiles.
- Use Slazzer to simplify processing, deliver photos, and automate the process. Its tools are designed specifically for high-volume school photographers to make your life easier.
- Start with a few schools, then scale up over time. Quality > Quantity.
If you have come here, you know how Slazzer can help you remove background and add new backgrounds in seconds, and how you can save money on outsourcing this task to other designers.
If you have more than 50K or 100K or 500K images or maybe more, and you have thought Slazzer is the perfect choice, Let us help you with high-volume solutions. You can save a major of time and money. Contact Us.
Thank you for reading, now it’s time to automate.


Comments (0)